If you're already using Supabase to manage your backend, chances are you're looking for a fast way to turn your product into a mobile app. With Bravo Studio, you can do exactly that — and now, even integrate OAuth2 authentication using Supabase, without writing native code or rebuilding your backend logic.
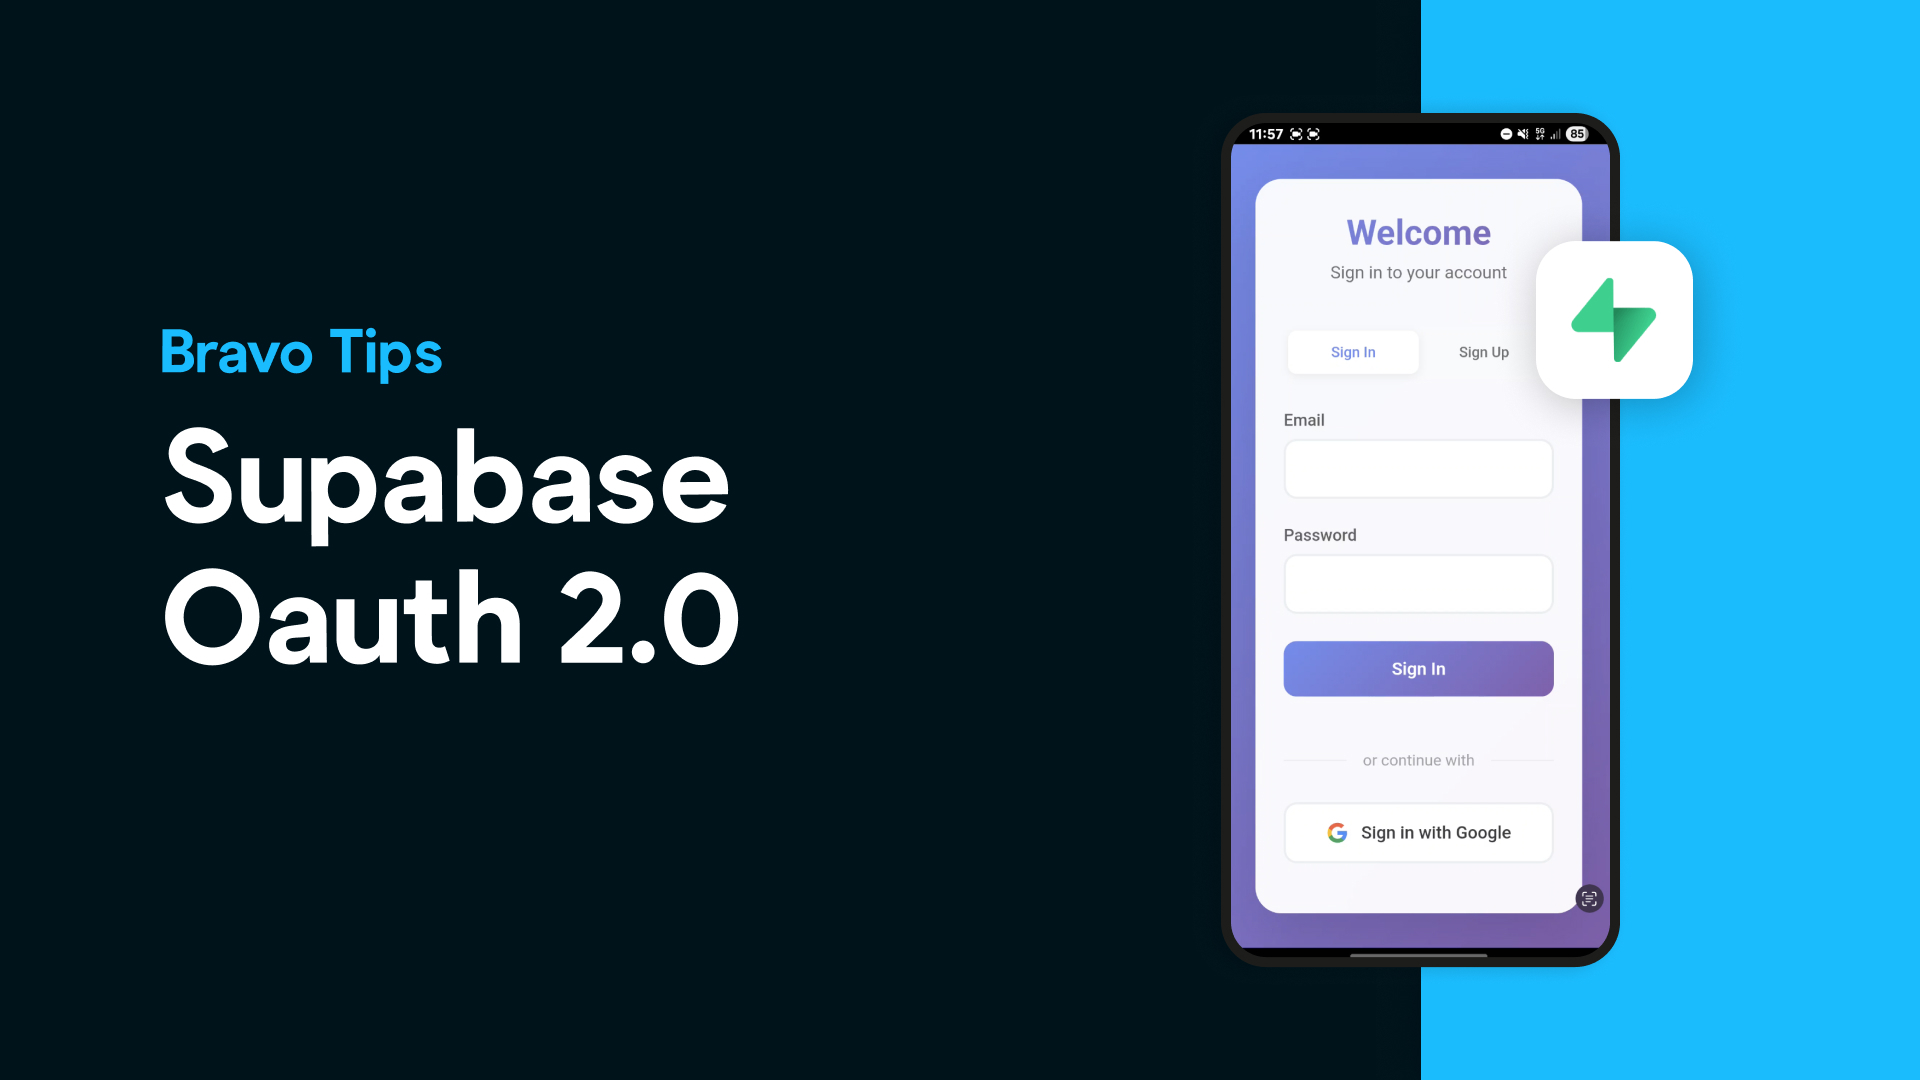
In this tutorial, we’ll show you how we added a Supabase-powered login to one of our demo projects — the Quit Vaping app — using Bravo Studio.
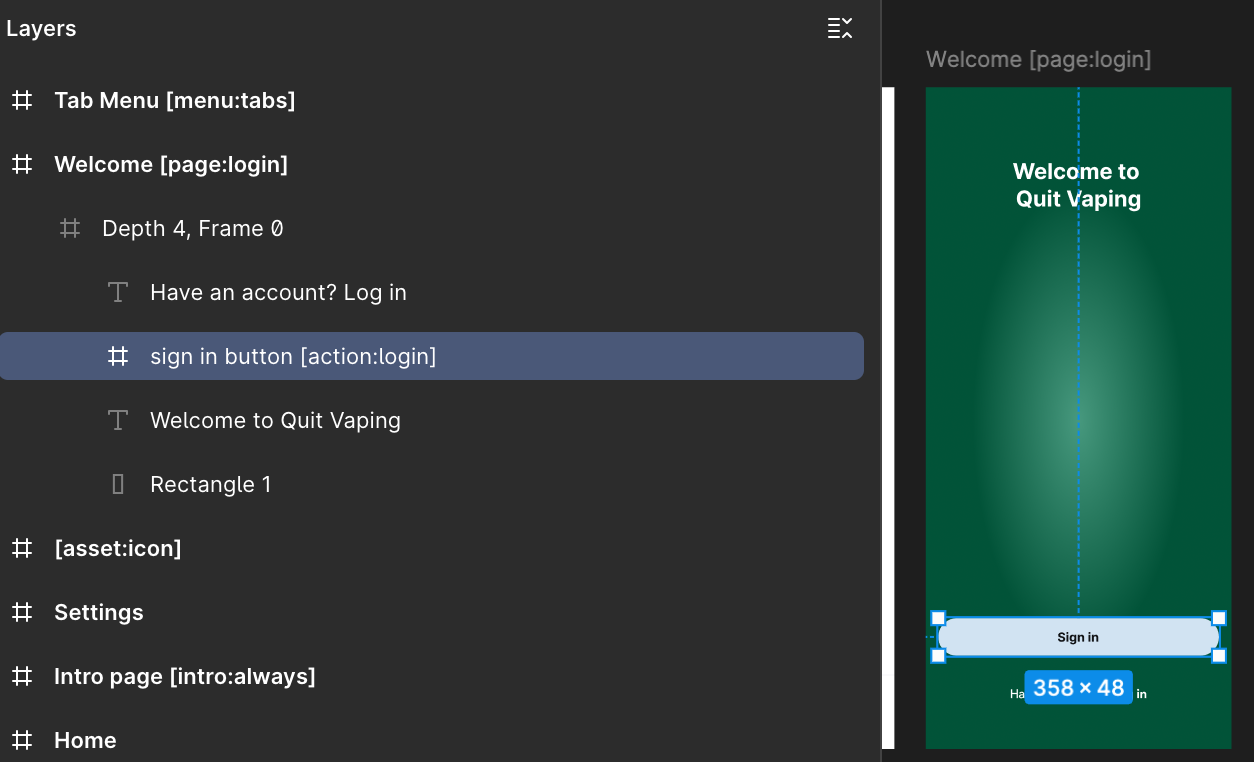
🎨 Step 1: Design Your App in Figma
Start by designing your app in Figma or using one of Bravo Studio’s free UI kits. For this project, we used a simple login screen with a single action button.
Use the Bravo Studio Figma plugin to tag the web view component and get your screen ready for import.
🌐 Step 2: Set Up Your Supabase OAuth Flow
To make Supabase act as an OAuth2 provider for Bravo, you’ll need:
A custom login page using HTML, hosted as a Bravo web component
A Supabase Edge Function that acts as the token endpoint
The userinfo endpoint from Supabase
You'll update the web component HTML with your project’s SUPABASE_URL and SUPABASE_ANON_KEY.
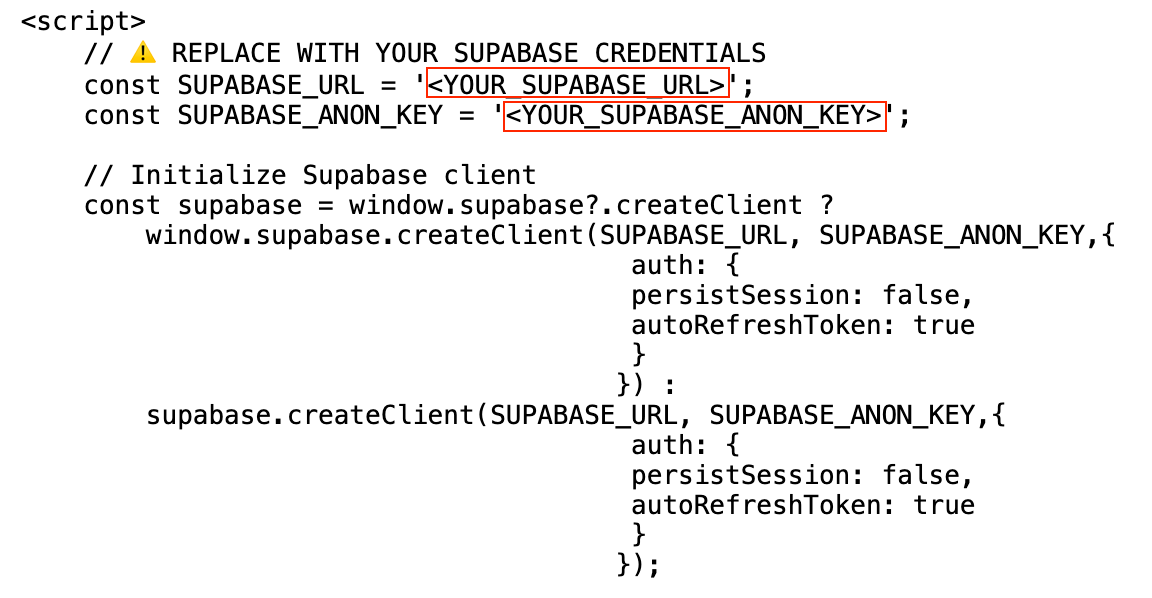
➡️ Get the web component code here
➡️ Get the token endpoint function code here
(DISABLE Enforce JWT Verification)
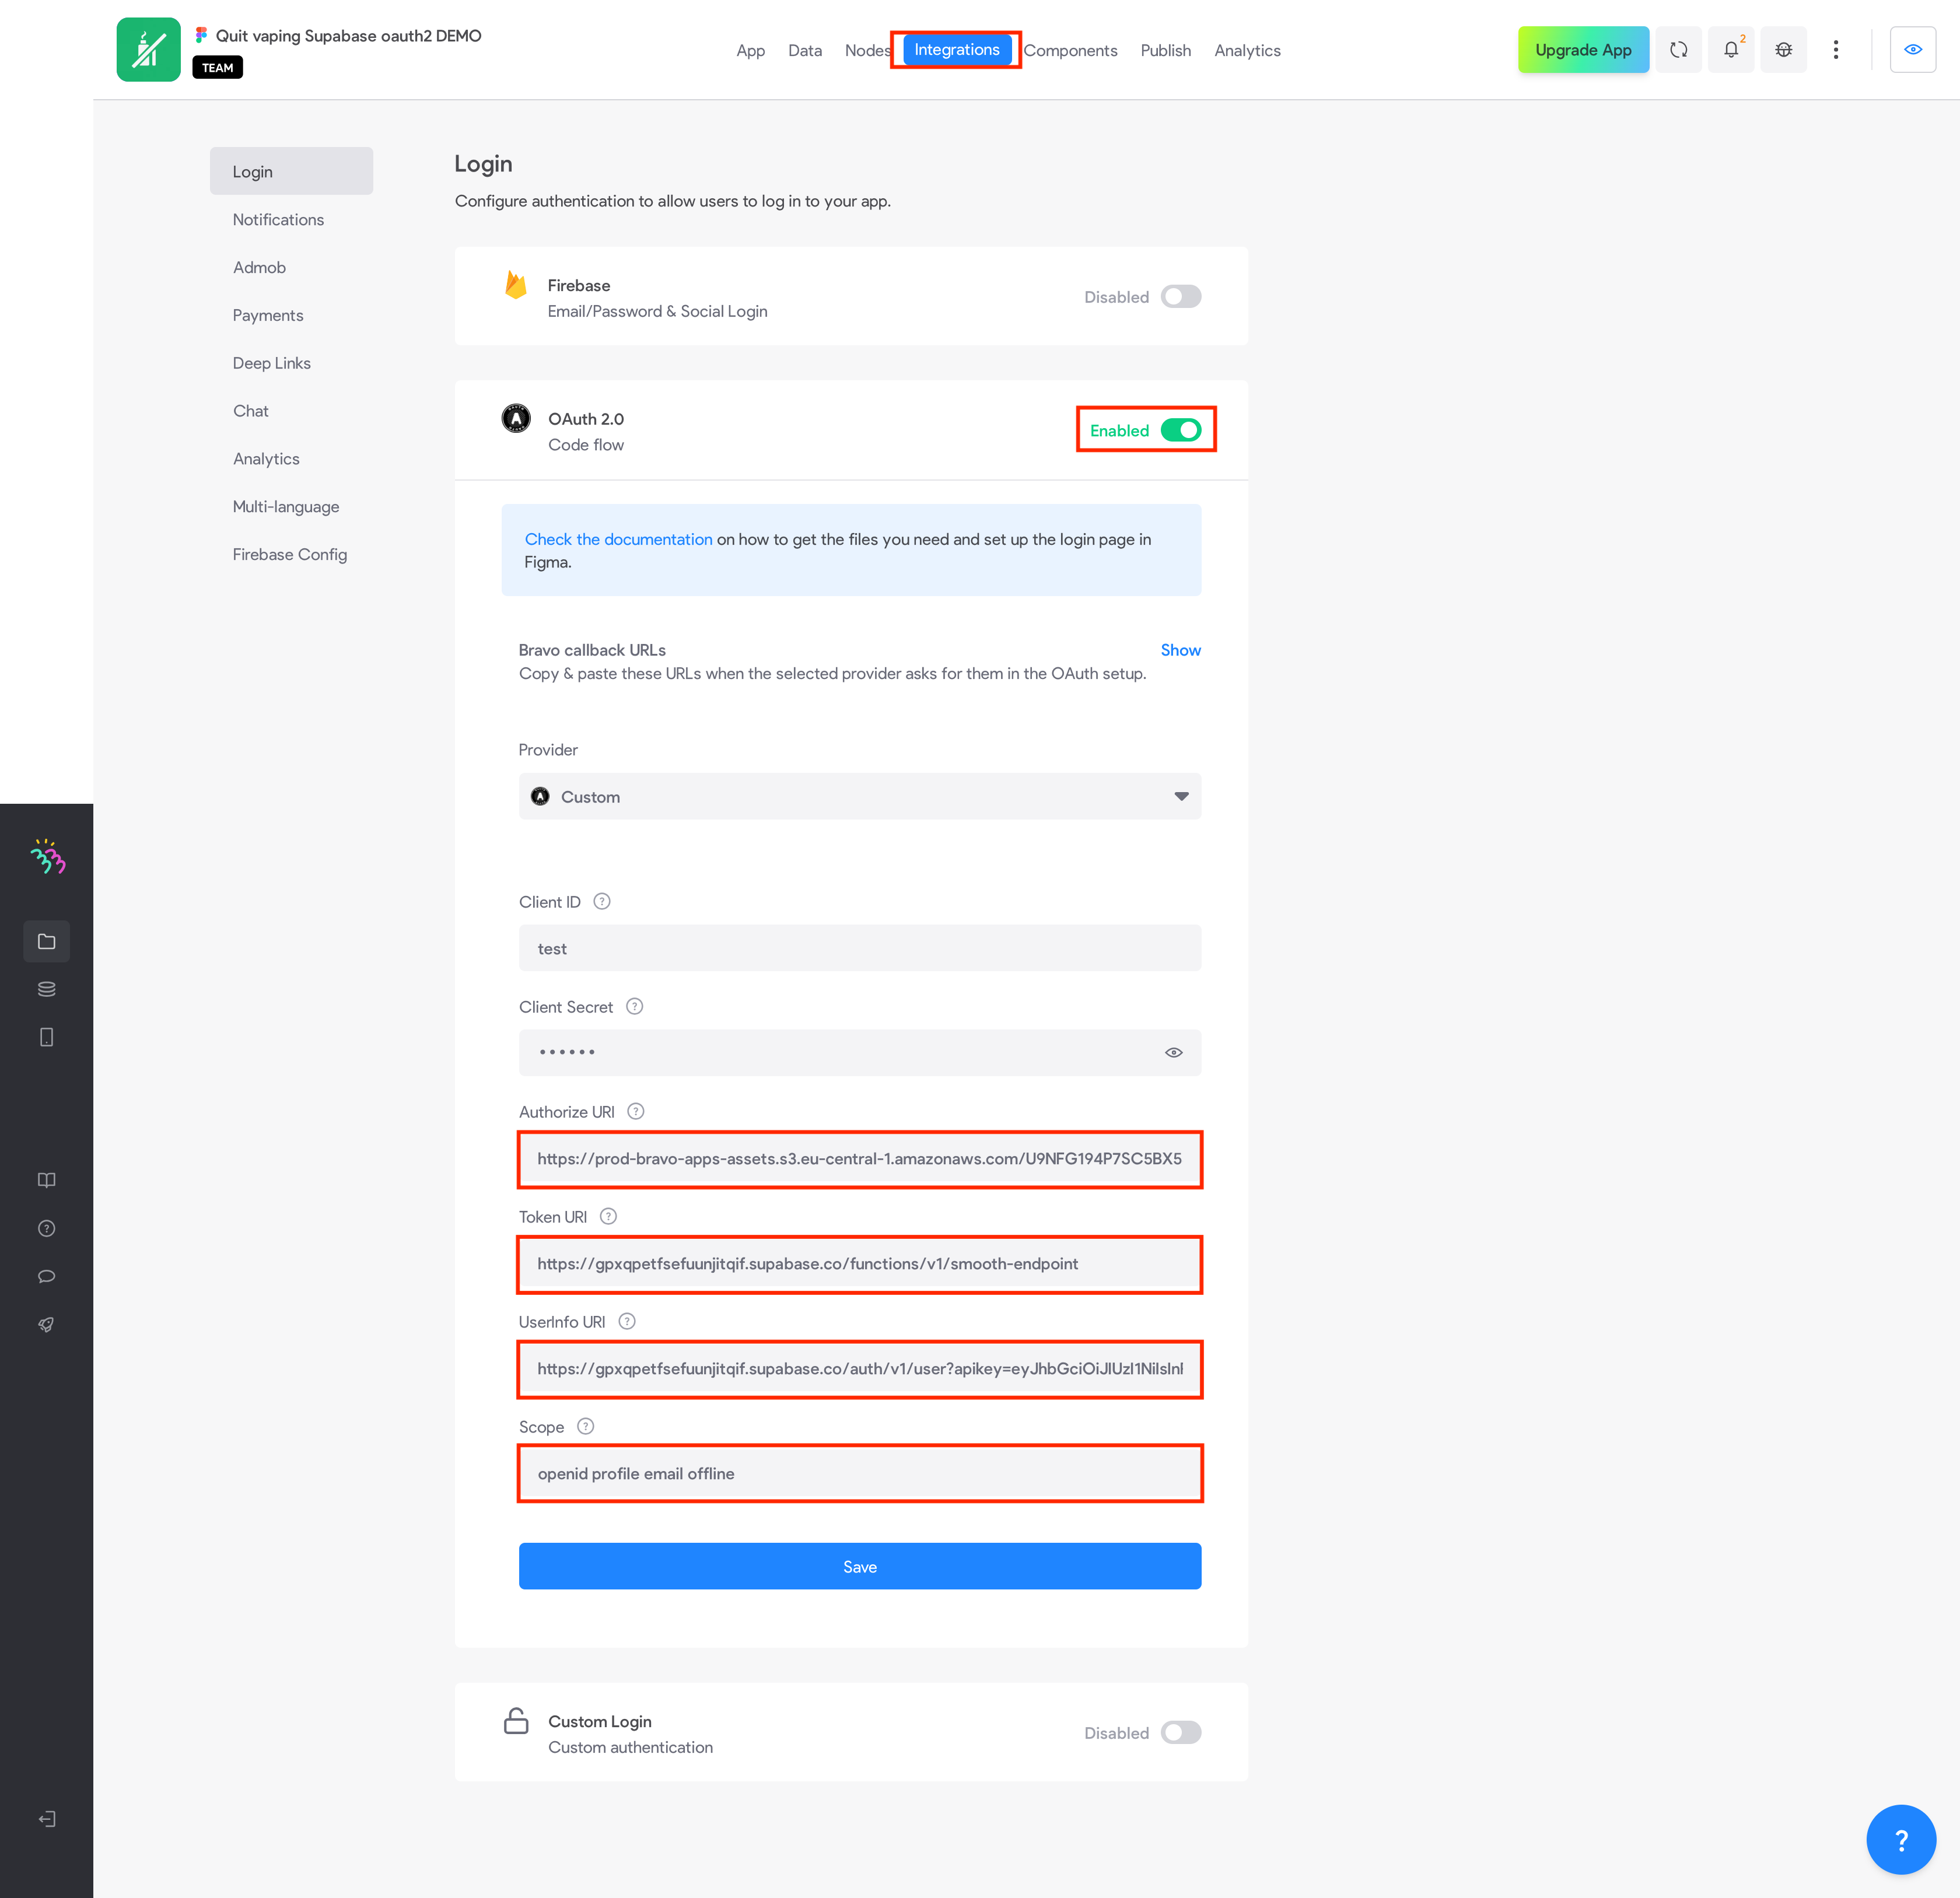
🔐 Step 3: Set Up OAuth2 Login in Bravo Studio
Inside your Bravo project:
Go to Integrations > Login and enable OAuth2
Add your custom authorize, token, and userinfo URLs
Add the scope: openid profile email offline
In the Data Collection, set the authentication type to OAuth2
Add the apikey header with your Supabase anon key.

Test your setup with a userinfo GET request.
Visit our Docs for full step by step set up.
✅ Ready for Real Users
And just like that, your mobile app has a secure login powered by Supabase — fully functional and ready to test in Bravo Vision.
With Bravo Studio, you can go from Figma design to a mobile app with secure authentication in hours, not weeks.