In a recent live session, Juan Carlos and Toby set out to recreate the sleek experience of Apple’s new Invites app—using nothing but Figma, Bravo Studio and no-code tools. While the full project included authentication, event filtering, and backend setup, this post focuses on one key piece of the puzzle: building the Event Detail Page.
The Goal
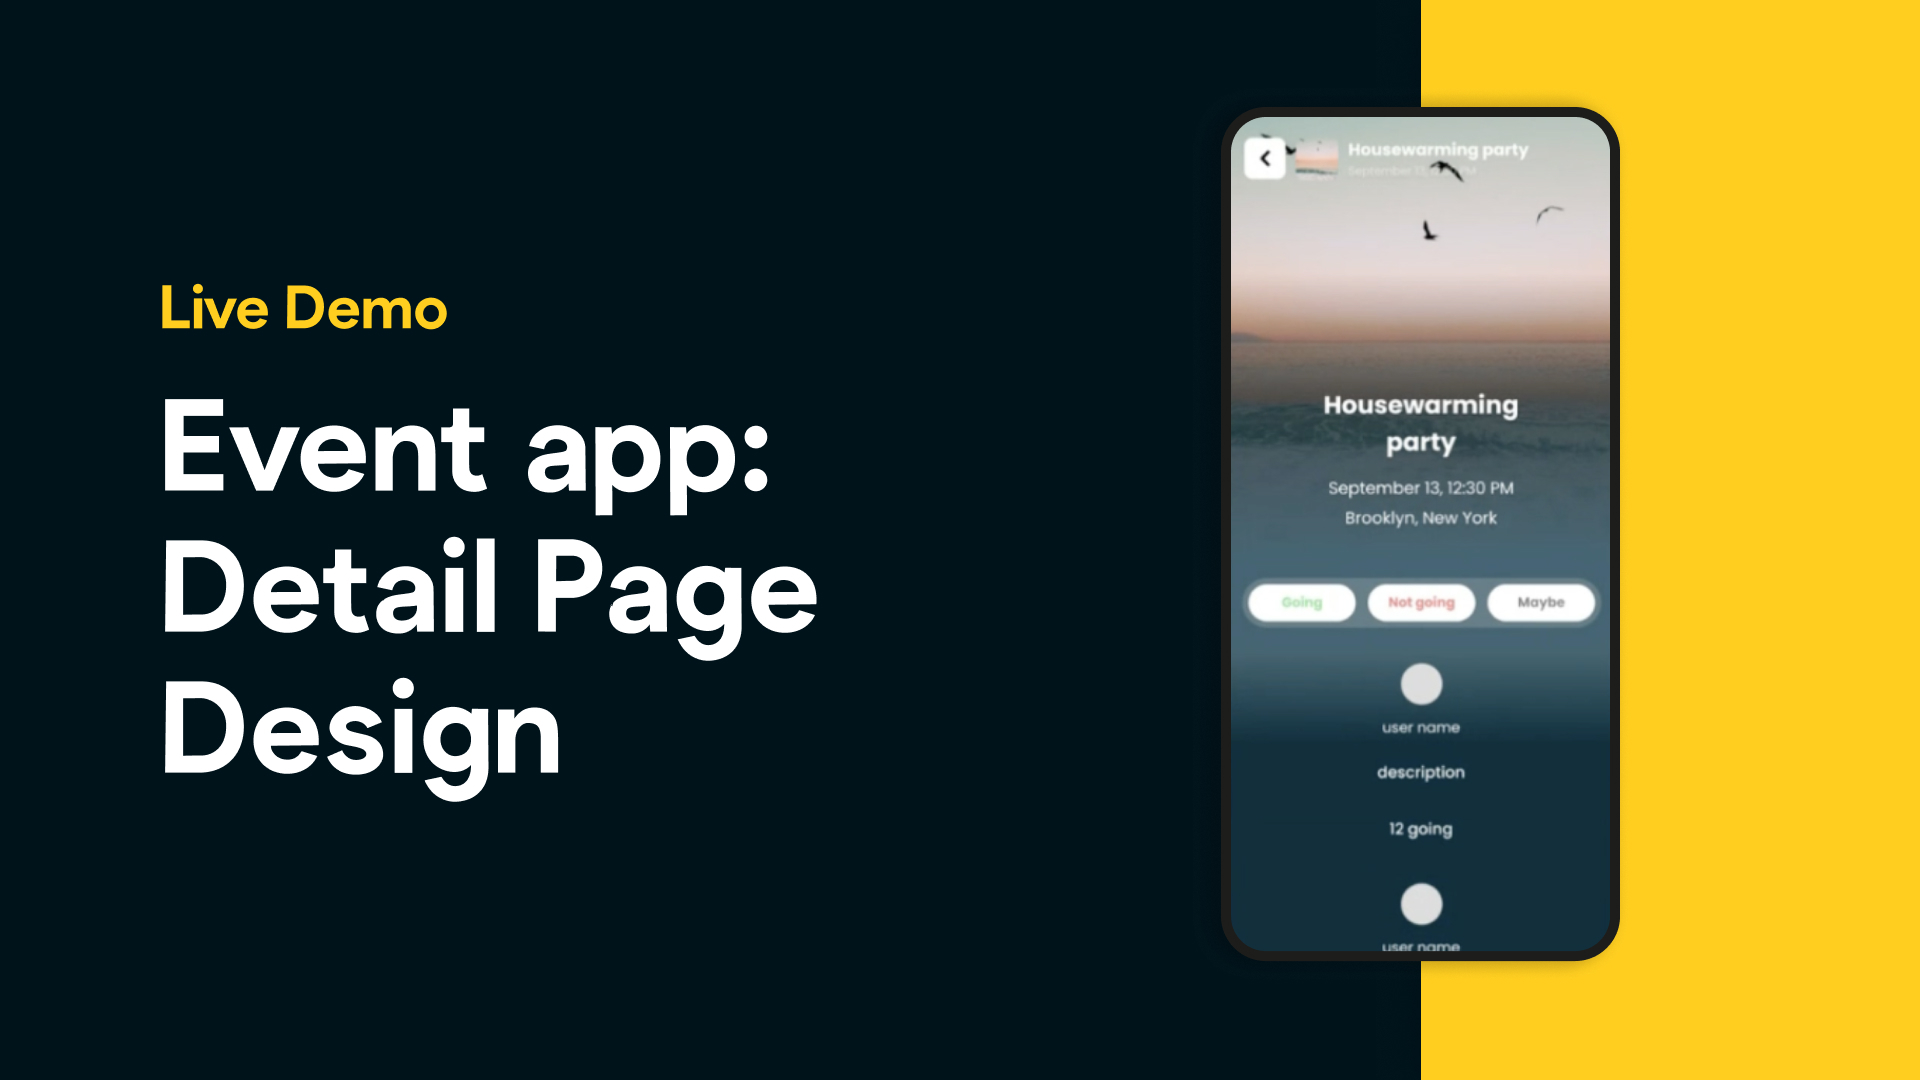
Recreate a rich, user-friendly event detail page where attendees can:
View event information (title, image, date, host, location, description)
See who’s attending
RSVP via interactive buttons
Starting Point: Design + Bravo Plugin
Juan Carlos began by grabbing a detail screen template from the Bravo Studio sample apps library in the Figma plugin. This served as a structural base to accelerate layout creation.
He immediately cleaned up unnecessary elements like:
Audio player controls
Tags
Save icons
Then he structured the page around a large hero image, followed by stacked content blocks.
Smart UX Feature: Top Bar That Shows on Scroll
To make the app feel polished, Juan Carlos implemented a "show on scroll" top bar using Bravo tags. This bar contains the event title and a back arrow and only appears as the user scrolls down—ensuring that context isn’t lost when navigating longer event descriptions.
Visual Hierarchy & Content Blocks
Using best practices in layout and spacing, he built:
Cover Image: Occupies the top half of the screen.
Event Metadata: Title, date (formatted by the backend), and location.
Host Info: Profile picture and host name.
Event Description: Placed in a flexo container so it expands based on content.
Attendees: A list or grid of user avatars shown in a dedicated container.
All of this was done with auto-layouts in Figma, carefully layering elements for clean responsiveness.
RSVP Interaction with Bravo Actions
Juan Carlos created three RSVP buttons:
Going
Not Going
Maybe
Each button was set up with Bravo's action:remote tag to trigger backend endpoints that record the user's response. He even designed active and default states to reflect the user's selection visually.
Data Binding
With the page layout ready, he moved to Bravo Vision and Bravo Studio to:
Connect the page to a Xano backend endpoint that returns event detail data.
Bind elements like title, date, description, and attendees dynamically using data variables.
One key step was naming consistency—ensuring variables like event_id, event_date, and event_description were consistent between Figma and Bravo for smooth data flow.
Previewing in Bravo Vision
After syncing the Figma design, Juan Carlos previewed the page in Bravo Vision to:
Check scroll behavior
Test layout spacing
Confirm correct data binding
He quickly identified and resolved a minor layering bug with RSVP buttons and ensured the image, text, and interactivity all displayed beautifully.
Takeaways
Use Bravo’s sample screens to speed up layout creation.
Leverage show-on-scroll top bars for elegant UX.
Use auto-layouts and flexo containers to handle dynamic content.
Bind data carefully, respecting naming conventions.
Preview and test in Bravo Vision as you go.