Monetizing your mobile app doesn’t have to be intimidating. Many Bravo developers (and app developers in general) struggle when it comes to setting up subscriptions but thanks to Bravo Studio’s integration with RevenueCat, you can make it happen without coding.
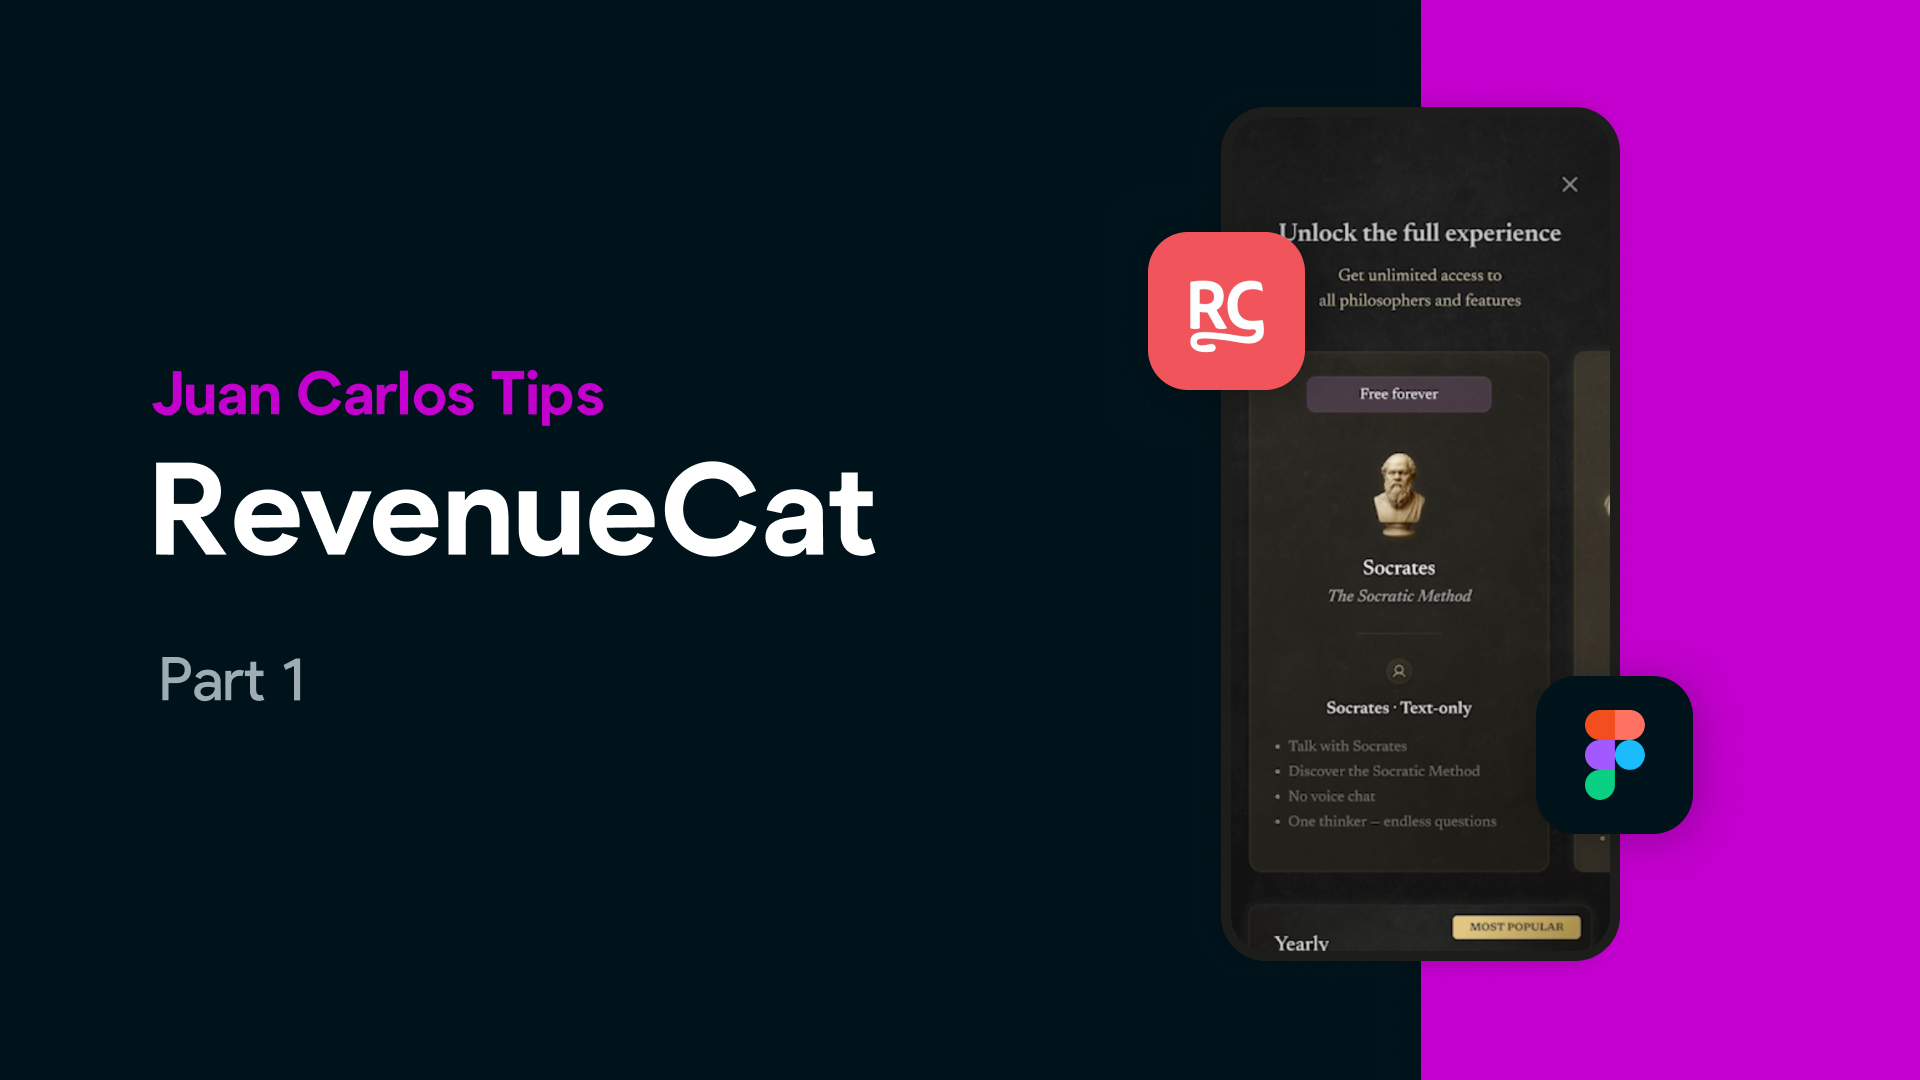
In this Part 1 tutorial, Bravo Expert Juan Carlos walks through the process of designing and tagging a paywall in Figma and configuring it in Bravo Studio, with optional backend support from Xano.
Why RevenueCat + Bravo Studio?
RevenueCat is a powerful subscription management tool that simplifies in-app purchases across iOS and Android. Combined with Bravo Studio, it allows you to:
✅ Add subscriptions to your app without complex coding
✅ Block or unlock content using conditional logic in Bravo
✅ Manage receipts, renewals, and entitlements automatically
✅ Connect with backends like Xano if you want more control
Juan Carlos’s Mental Model
When structuring an app for monetization, Juan Carlos recommends thinking in three layers:
Design & Frontend – Your app’s UI in Figma + configuration in Bravo Studio.
RevenueCat – Handling subscriptions, products, and entitlements.
Backend (Optional) – Using Xano to manage advanced content gating or user logic.
Step 1: Designing the Paywall in Figma
Your paywall is the key to conversions. In Figma:
Design a clean and persuasive paywall page.
Add copy and visuals that clearly explain the value of upgrading.
Consider using techniques like carousels to show the difference between free and paid plans.
Example from Juan Carlos:
In his app Kōra (which lets you chat with philosophers like Socrates or Simone de Beauvoir), free users can always talk to Socrates. But if they want to unlock voice conversations and more philosophers, they must upgrade to the Plus membership.
Step 2: Adding Bravo Tags
Bravo Studio recognizes paywalls and subscription flows through tags. For example:
page_paywall → marks the screen as a paywall
action_purchase → links the button to a RevenueCat package ID
price → displays subscription pricing dynamically
You’ll find the full list of required tags in Bravo Studio’s RevenueCat documentation (linked in the video).
Step 3: Configuring the Paywall in Bravo Studio
Once imported from Figma:
Define your paywall screen in Bravo Studio.
Connect actions (e.g., after purchase → go to page, show alert, open URL).
Test navigation to ensure the flow is smooth.
What’s Next
This Part 1 tutorial is all about setting up the UI and Bravo configuration.In Part 2, Juan Carlos will cover:
Setting up your products in RevenueCat
Linking RevenueCat with Bravo
Testing your paywall and purchase flow end-to-end
Conclusion
Subscriptions are one of the most powerful monetization models for mobile apps. With Bravo Studio + RevenueCat, you can implement them quickly and effectively — straight from your Figma design.
👉 Watch the full Part 1 tutorial here👉 Try Bravo Studio: bravostudio.app
FAQs
Q: Do I need coding to integrate RevenueCat with Bravo?No — everything can be configured visually with Bravo Studio tags and settings.
Q: Can I test subscriptions before launching?Yes, RevenueCat lets you test entitlements and flows before going live.
Q: Does this work on both iOS and Android?Absolutely. RevenueCat manages cross-platform subscriptions seamlessly.
Q: Why use Xano in this setup?Xano isn’t required, but it helps if you want to manage extra logic, user states, or gated content.