Introduction
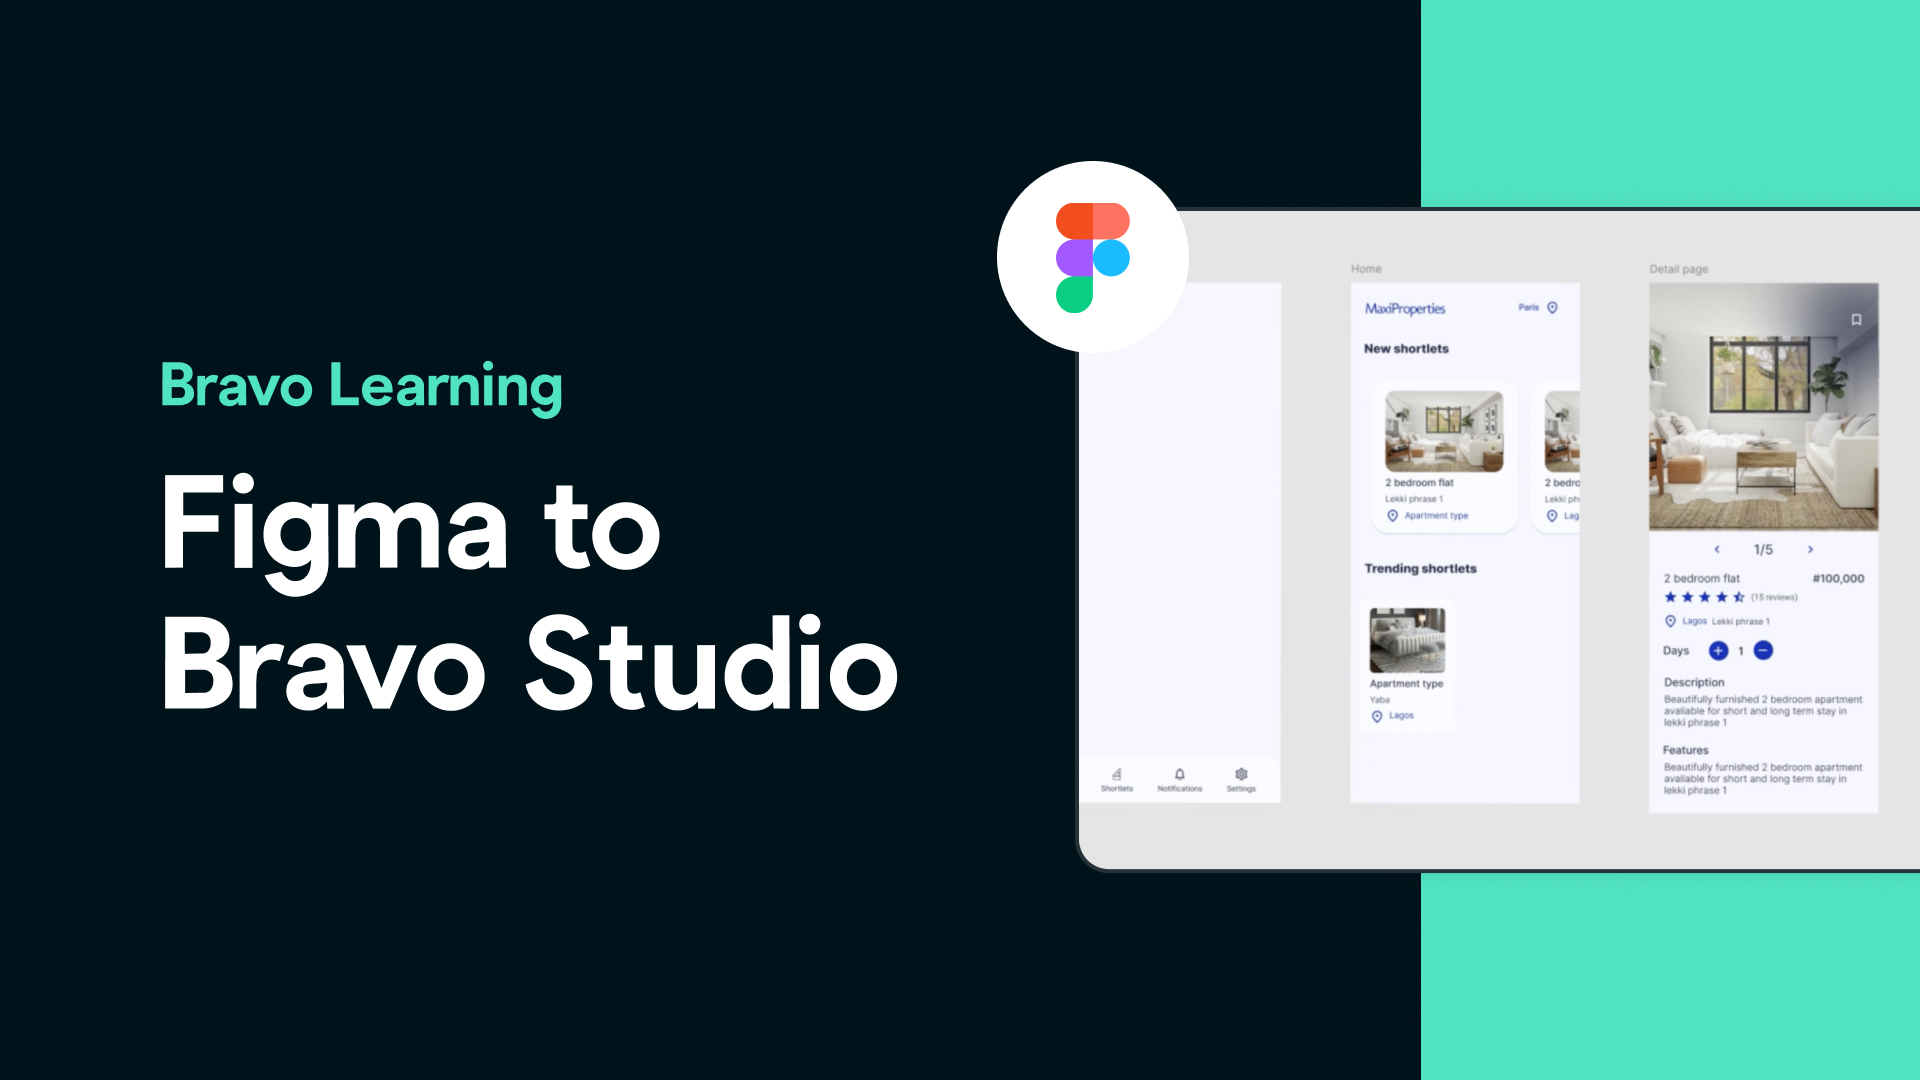
Looking to turn a Figma design into a fully functional mobile app? Imagine finding an inspiring app design in the Figma Community or receiving a design from a client. With Bravo Studio, you can transform that design into a real app — no coding required!
In this tutorial, we'll walk you through how to bravorize a real estate app design and create a working prototype that you can test with real users.
📹 Watch the full tutorial now and start building!
Step 1: Choosing a Design
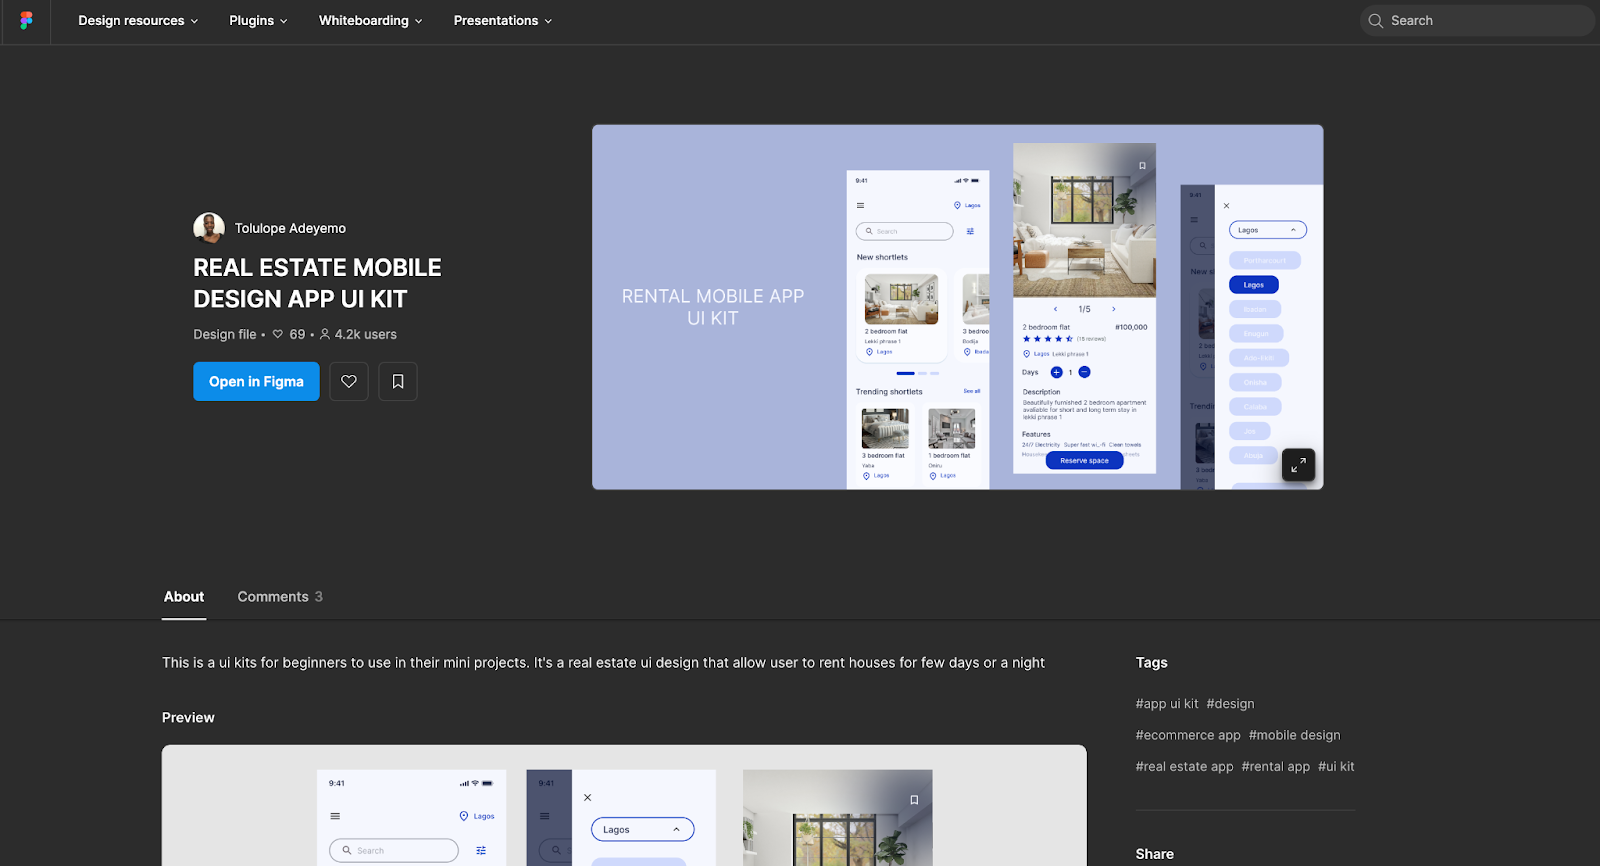
The Figma Community offers amazing app designs that you can adapt for Bravo Studio. For this example, we'll use this real estate app design and customize it with Bravo Tags for app functionality.
Step 2: Setting Up the App Menu
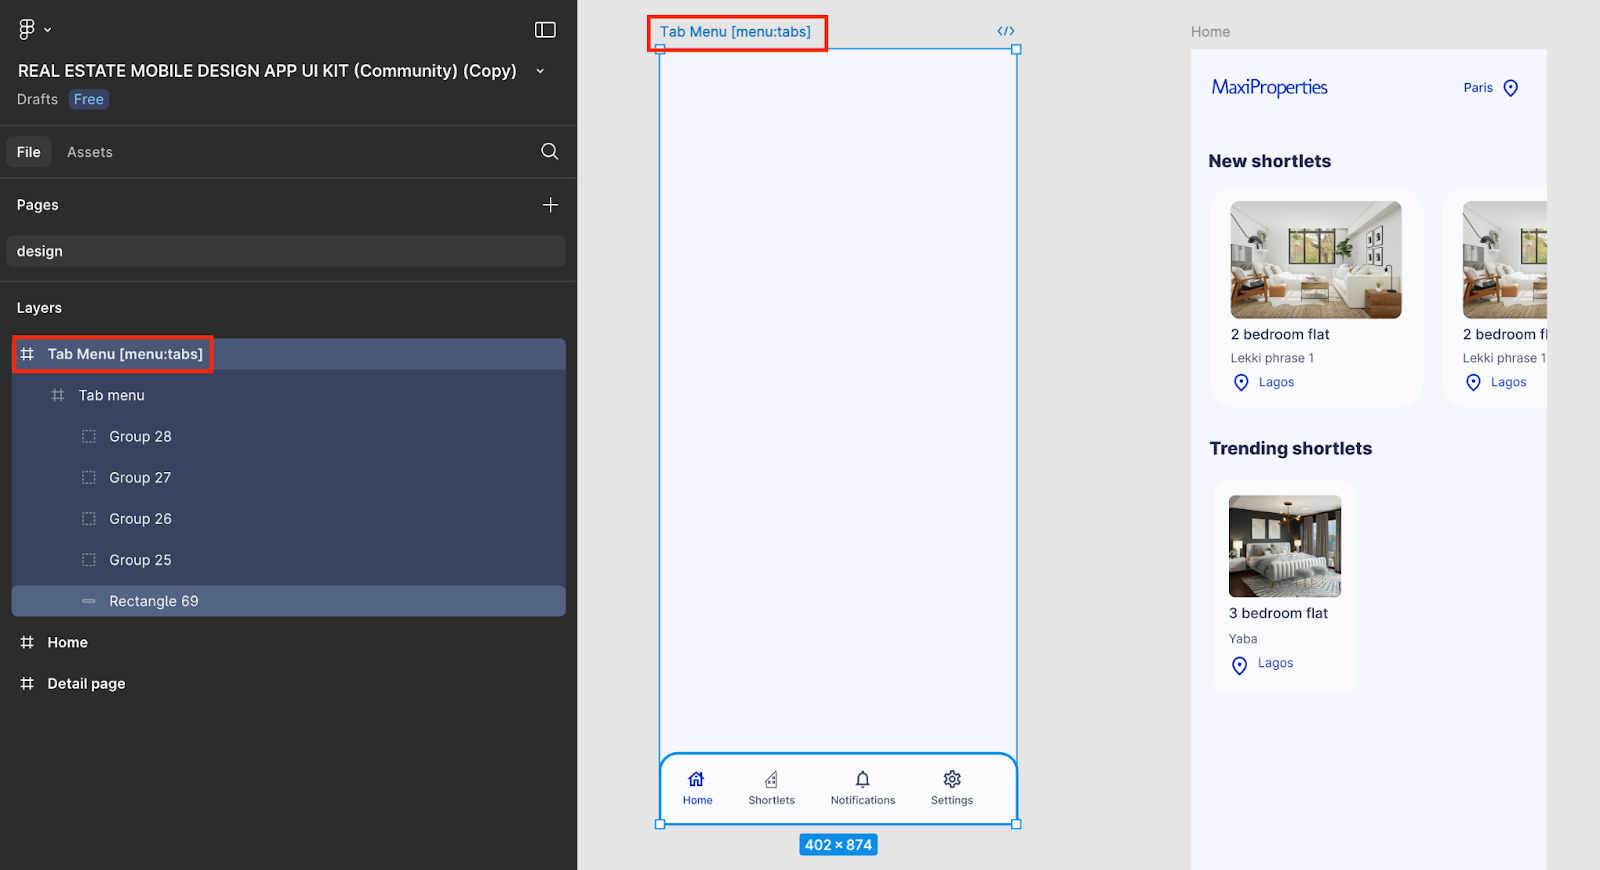
Instead of adding the menu design to every screen, Bravo allows you to create a dedicated menu screen for better navigation control.
Add a new frame called Tab Menu in your Figma file.
Add the Tab Menu Bravo Tag to this frame name.
Move your tab menu design into this new frame and wrap the tab menu in a container.
Step 3: Creating the Homepage Layout
In the home page design:
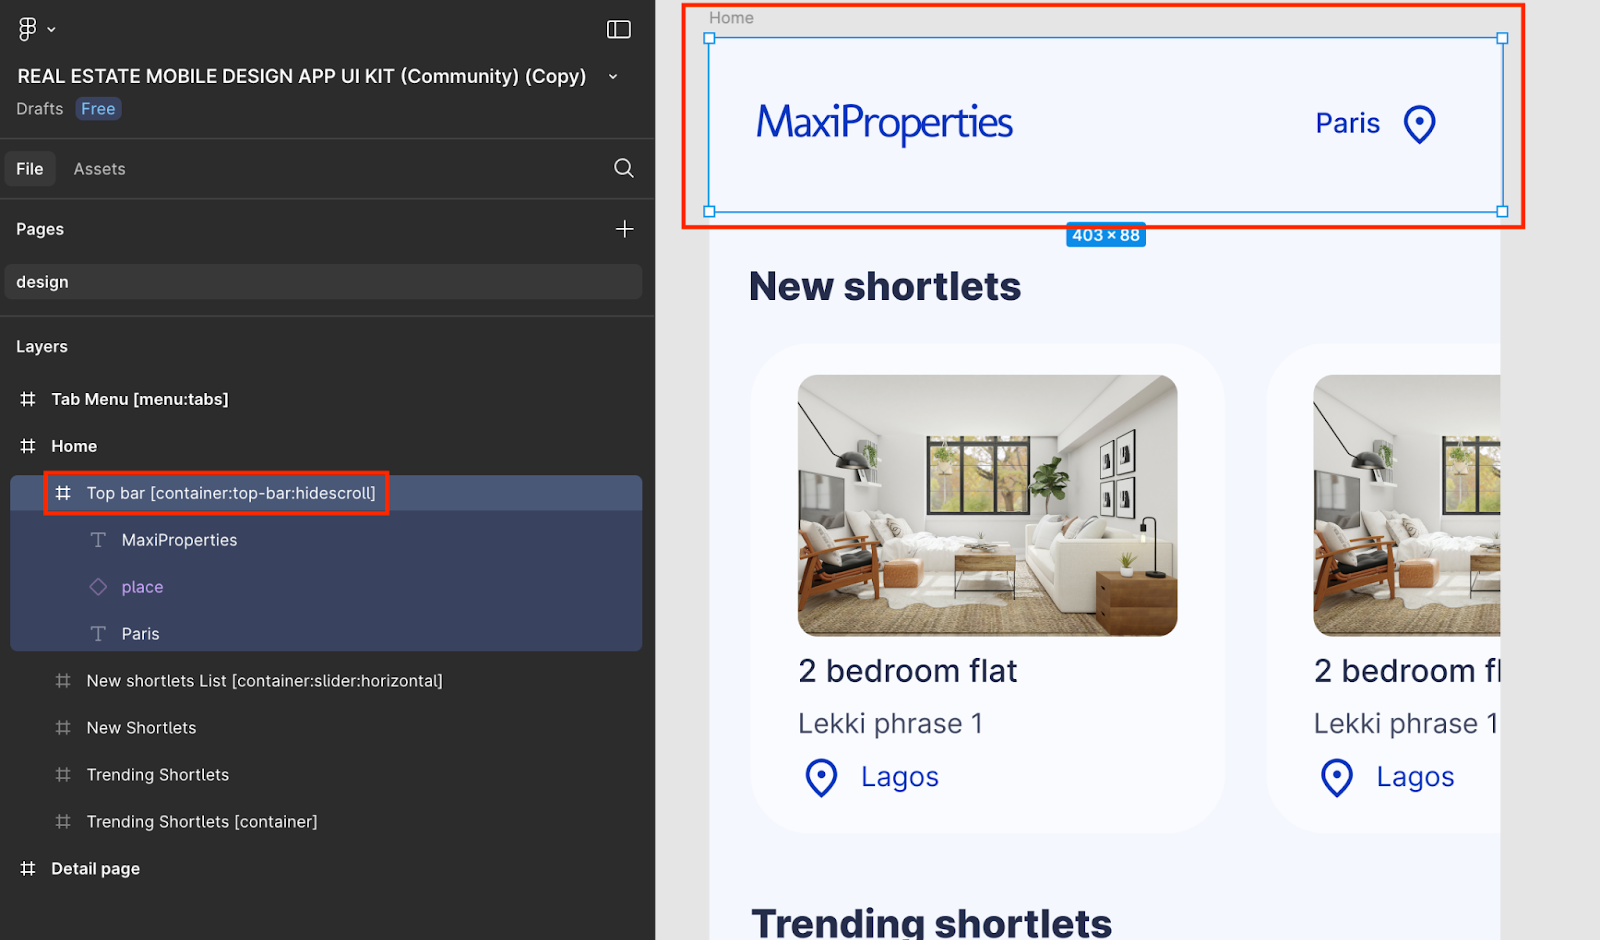
Remove unnecessary elements like the search bar or filter icon.
Add a fixed top bar with your app's logo, location name, and an icon.
Use the hide-when-scroll Bravo Tag on your top bar container for improved UX.
Step 4: Building a Horizontal Slider
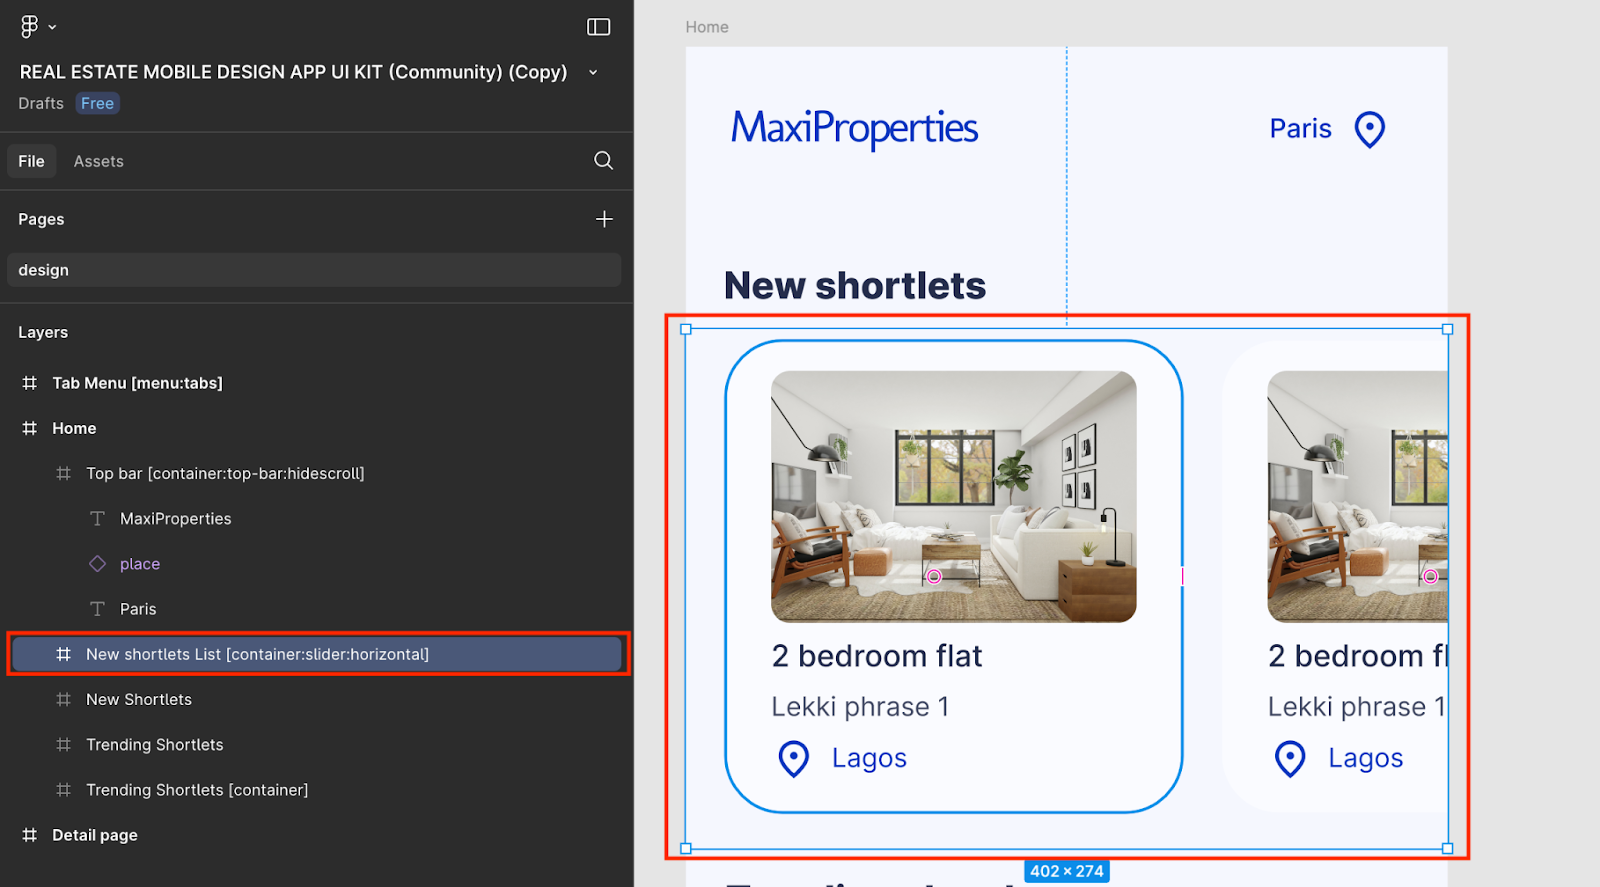
Add a new container for your property slides.
Add the horizontal-slider Bravo Tag to the container.
Wrap one slide design in a container, then duplicate it to create multiple slides.
Add padding to the right side of each card for spacing.
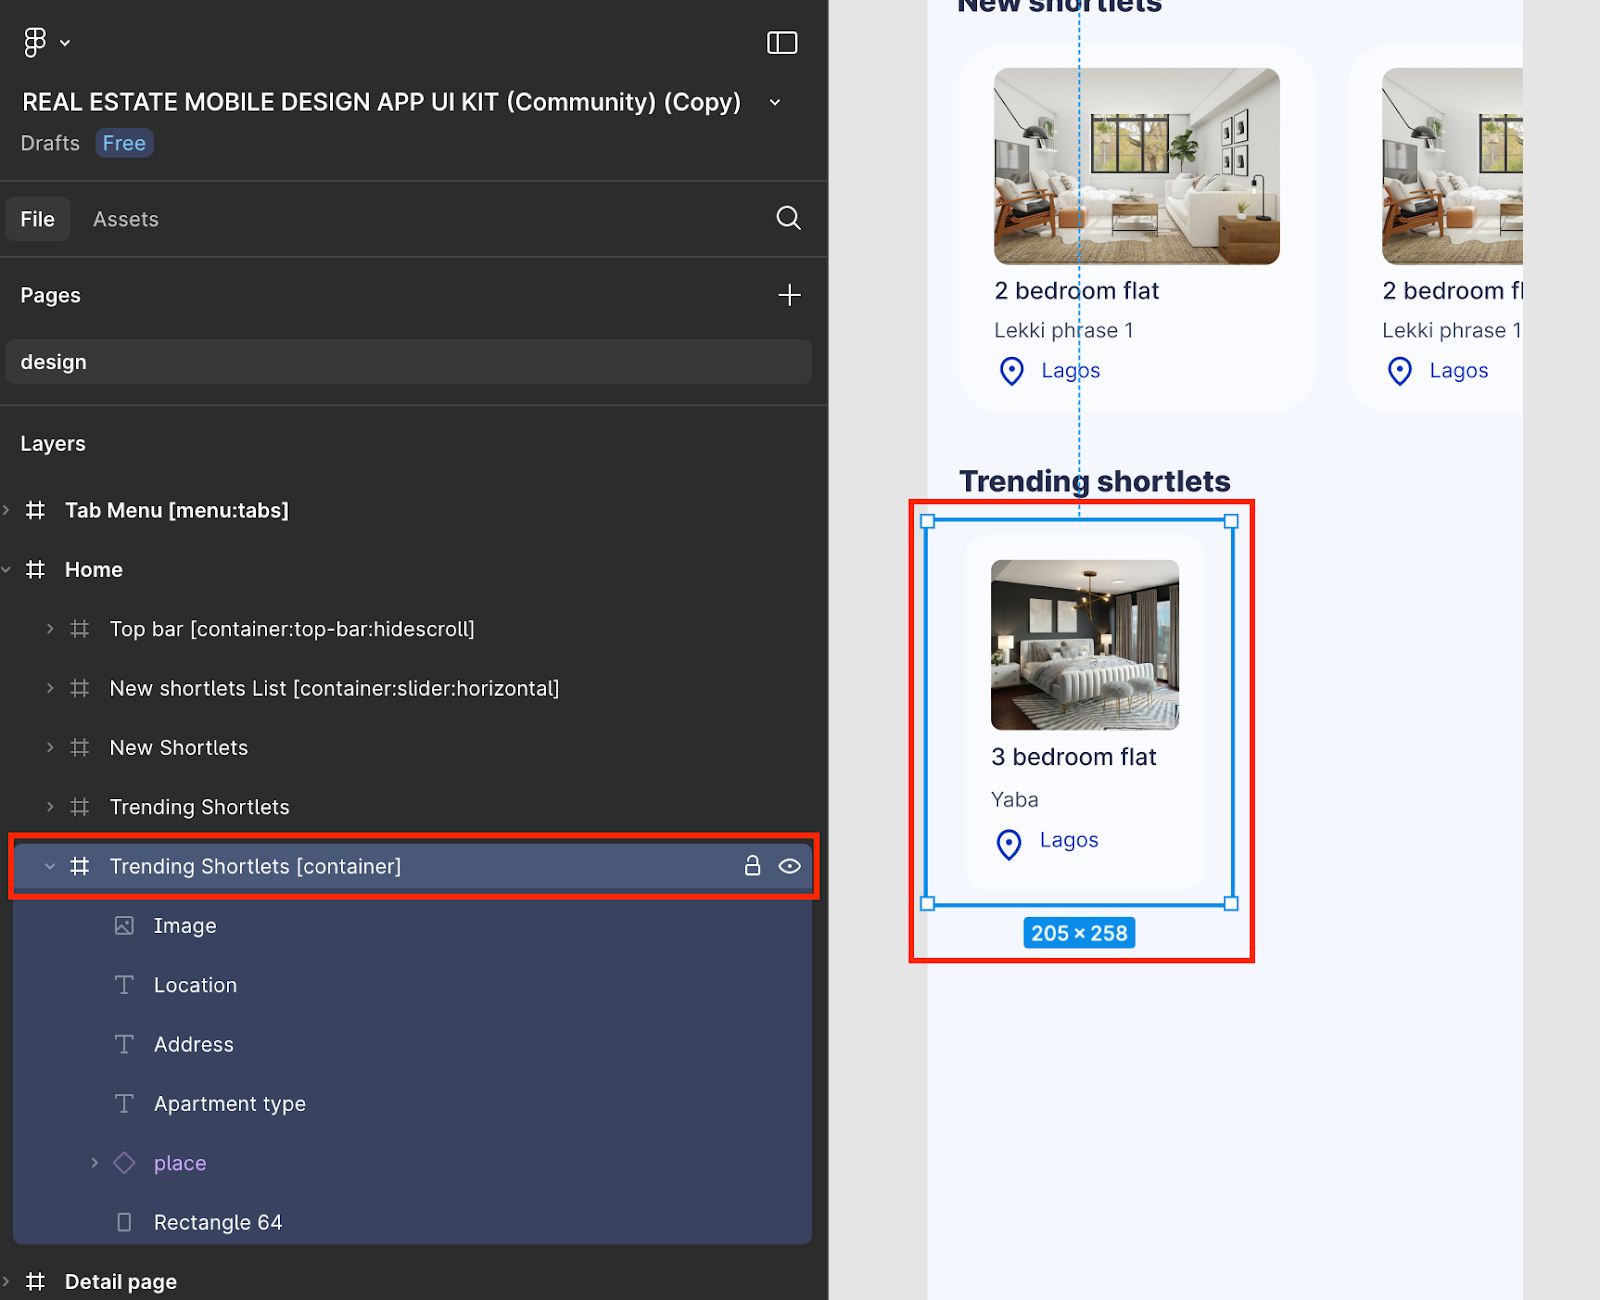
Step 5: Creating a Vertical List
Add a new container for your vertical property cards.
Each property card should occupy 50% of the screen width.
Add spacing between cards by adding padding inside each card’s container.
Add the container Bravo Tag to the property card’s layer name for proper binding.
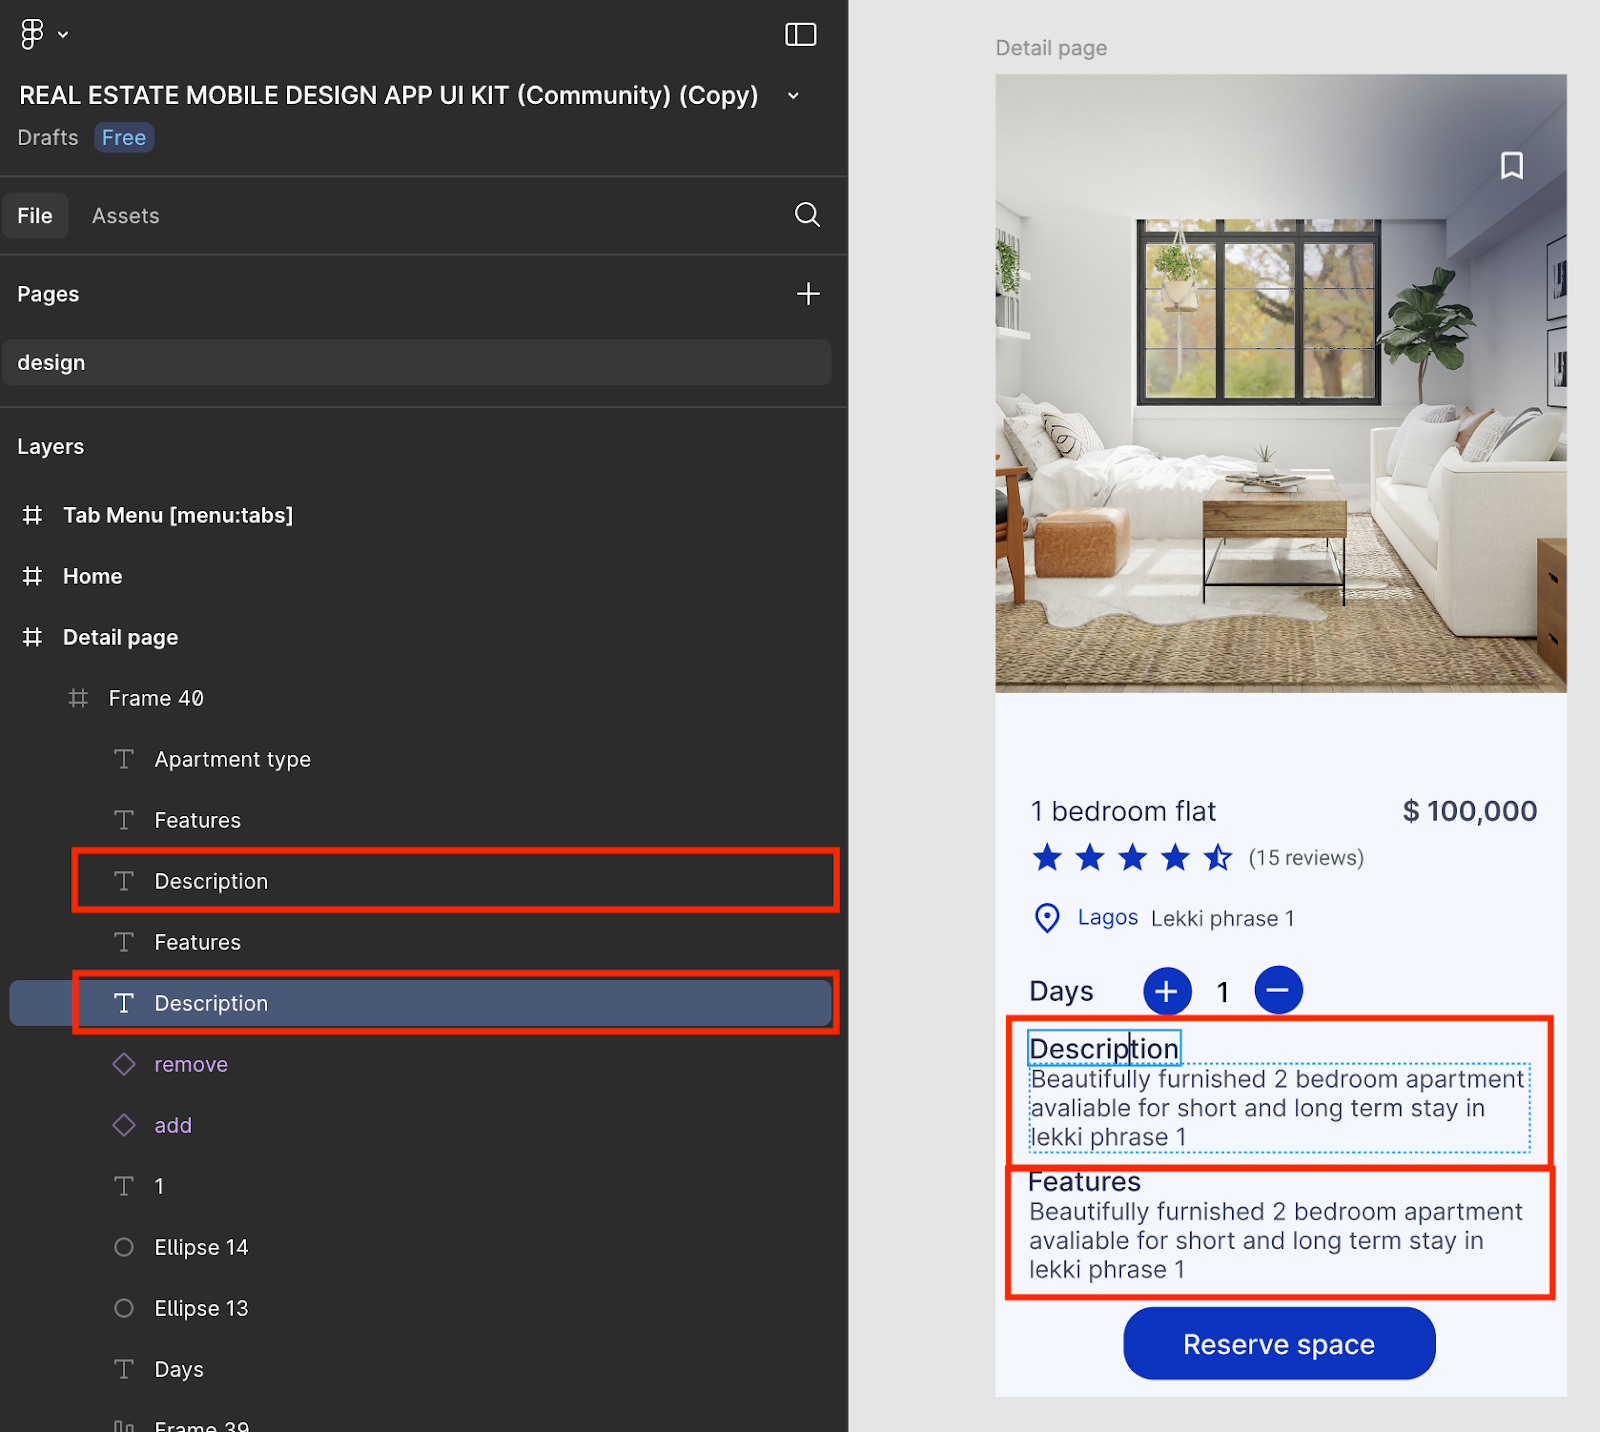
Step 6: Designing the Property Detail Page
In your property details page:
Consolidate feature text blocks into a single text block for improved data binding.
Update layer names to easily identify data points when binding to the database.
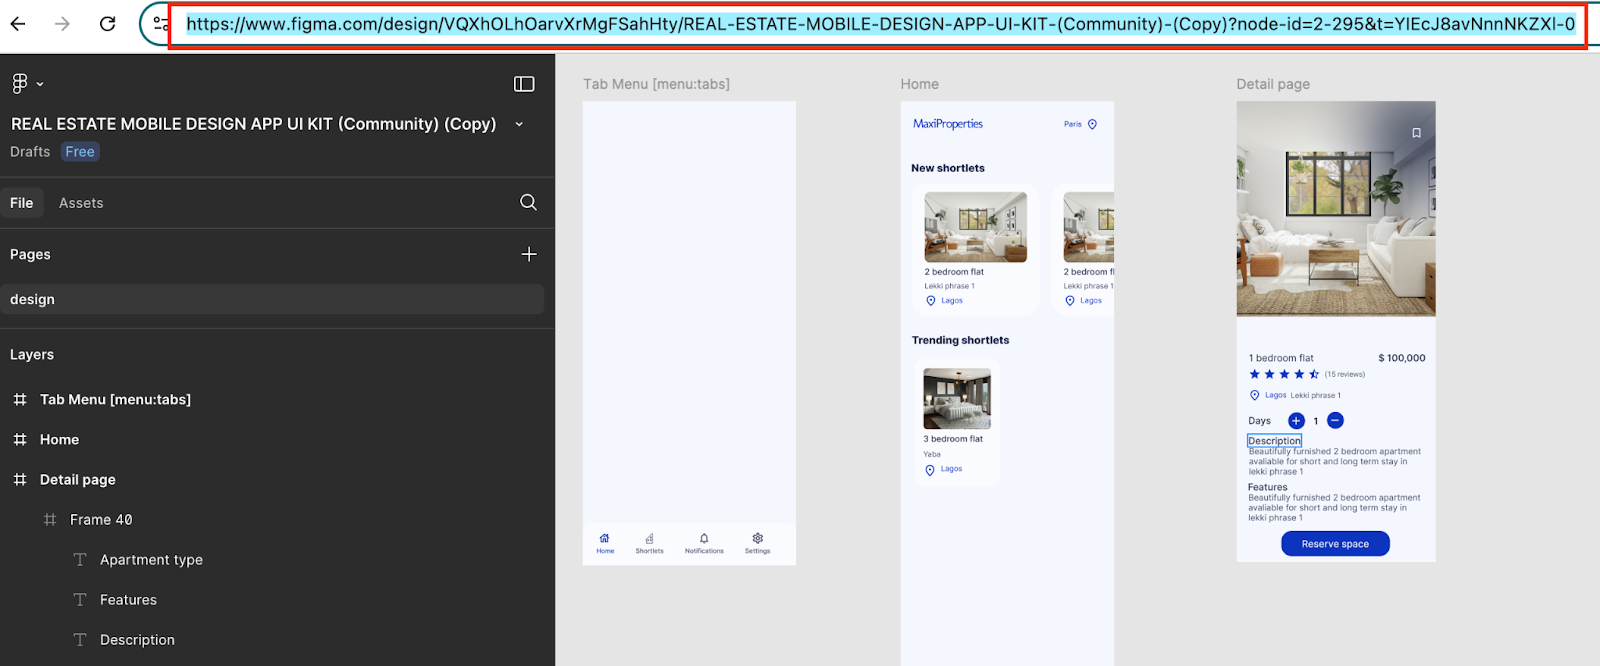
Step 7: Importing the Design into Bravo Studio
Copy your Figma design URL.
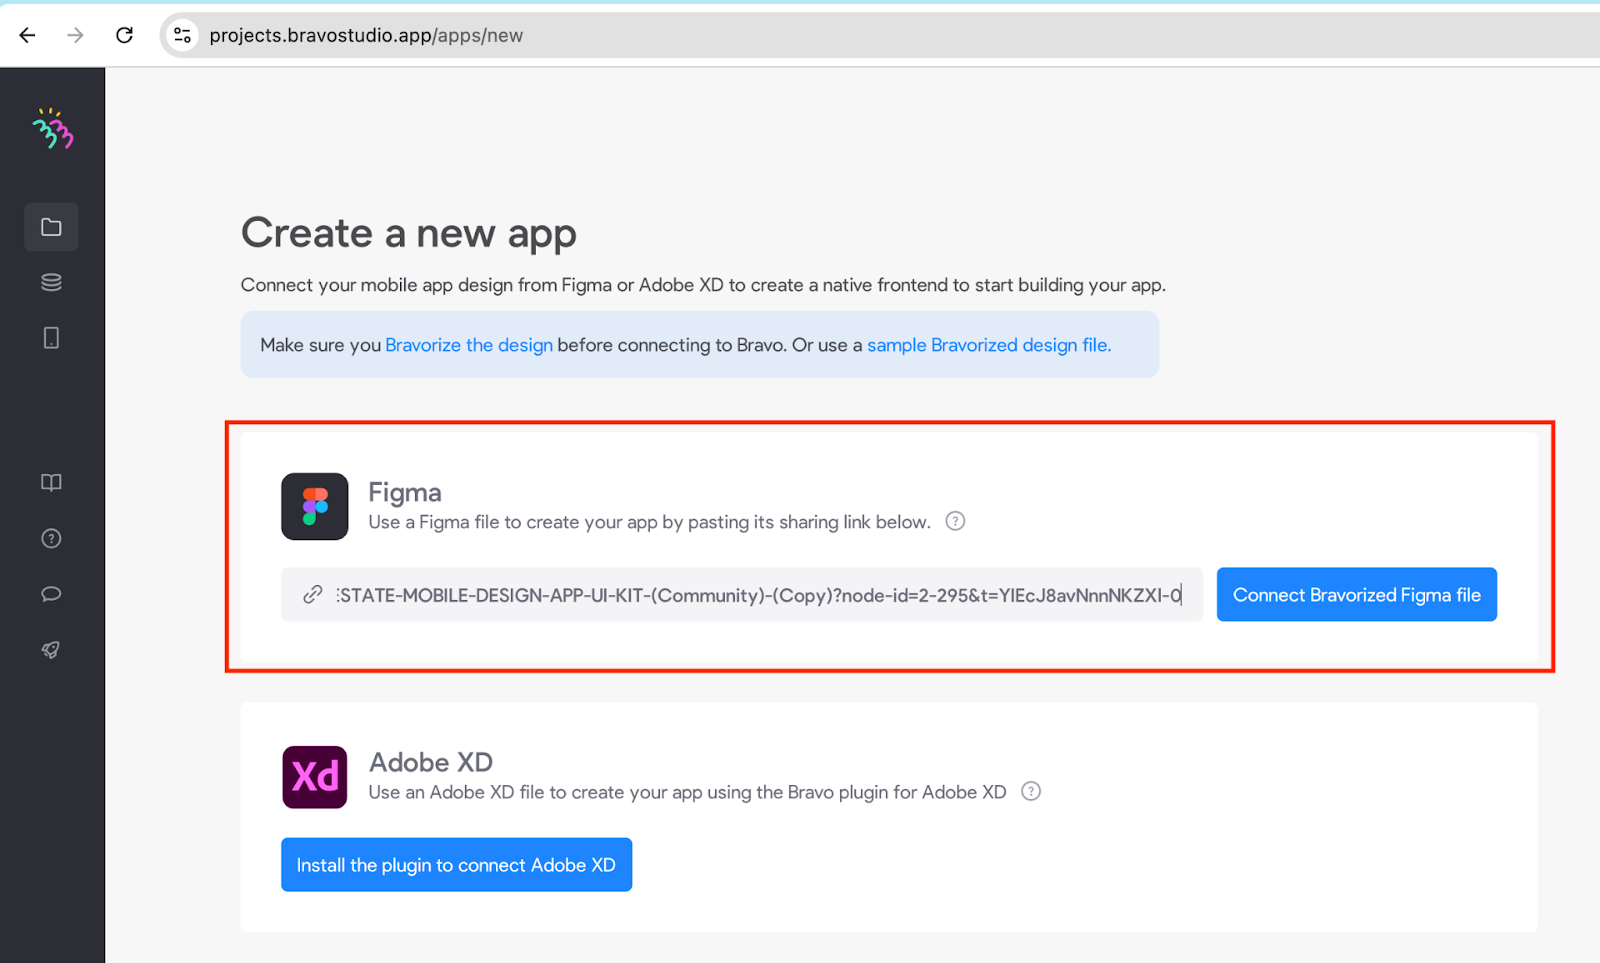
In Bravo Studio, create a new project, paste your design URL, and hit "Connect Bravorized Figma File".
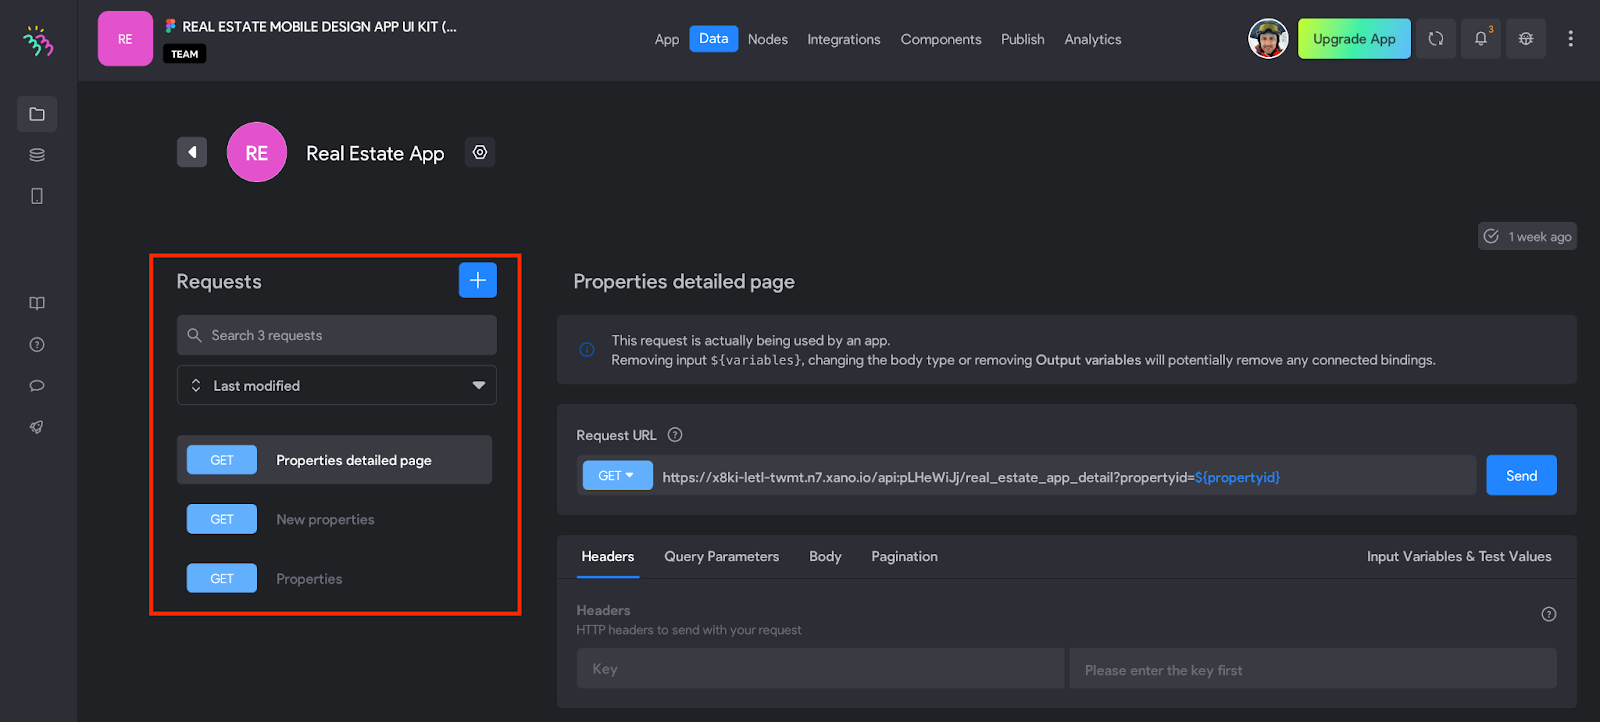
Step 8: Connecting Data with Xano
For our sample app, we built a simple Xano** database** to store all real estate property information. We created GET requests to retrieve data and bind it with our design elements in Bravo Studio.
Step 9: Testing Your App in Bravo Vision
With Bravo Vision, you can see your app in action — fully functional, powered by your design and backend data. In just a few minutes, you'll have a working real estate app built from a free Figma Community Design file!
🚀 Bravo Studio makes it easy to turn ideas into reality. Start building today!