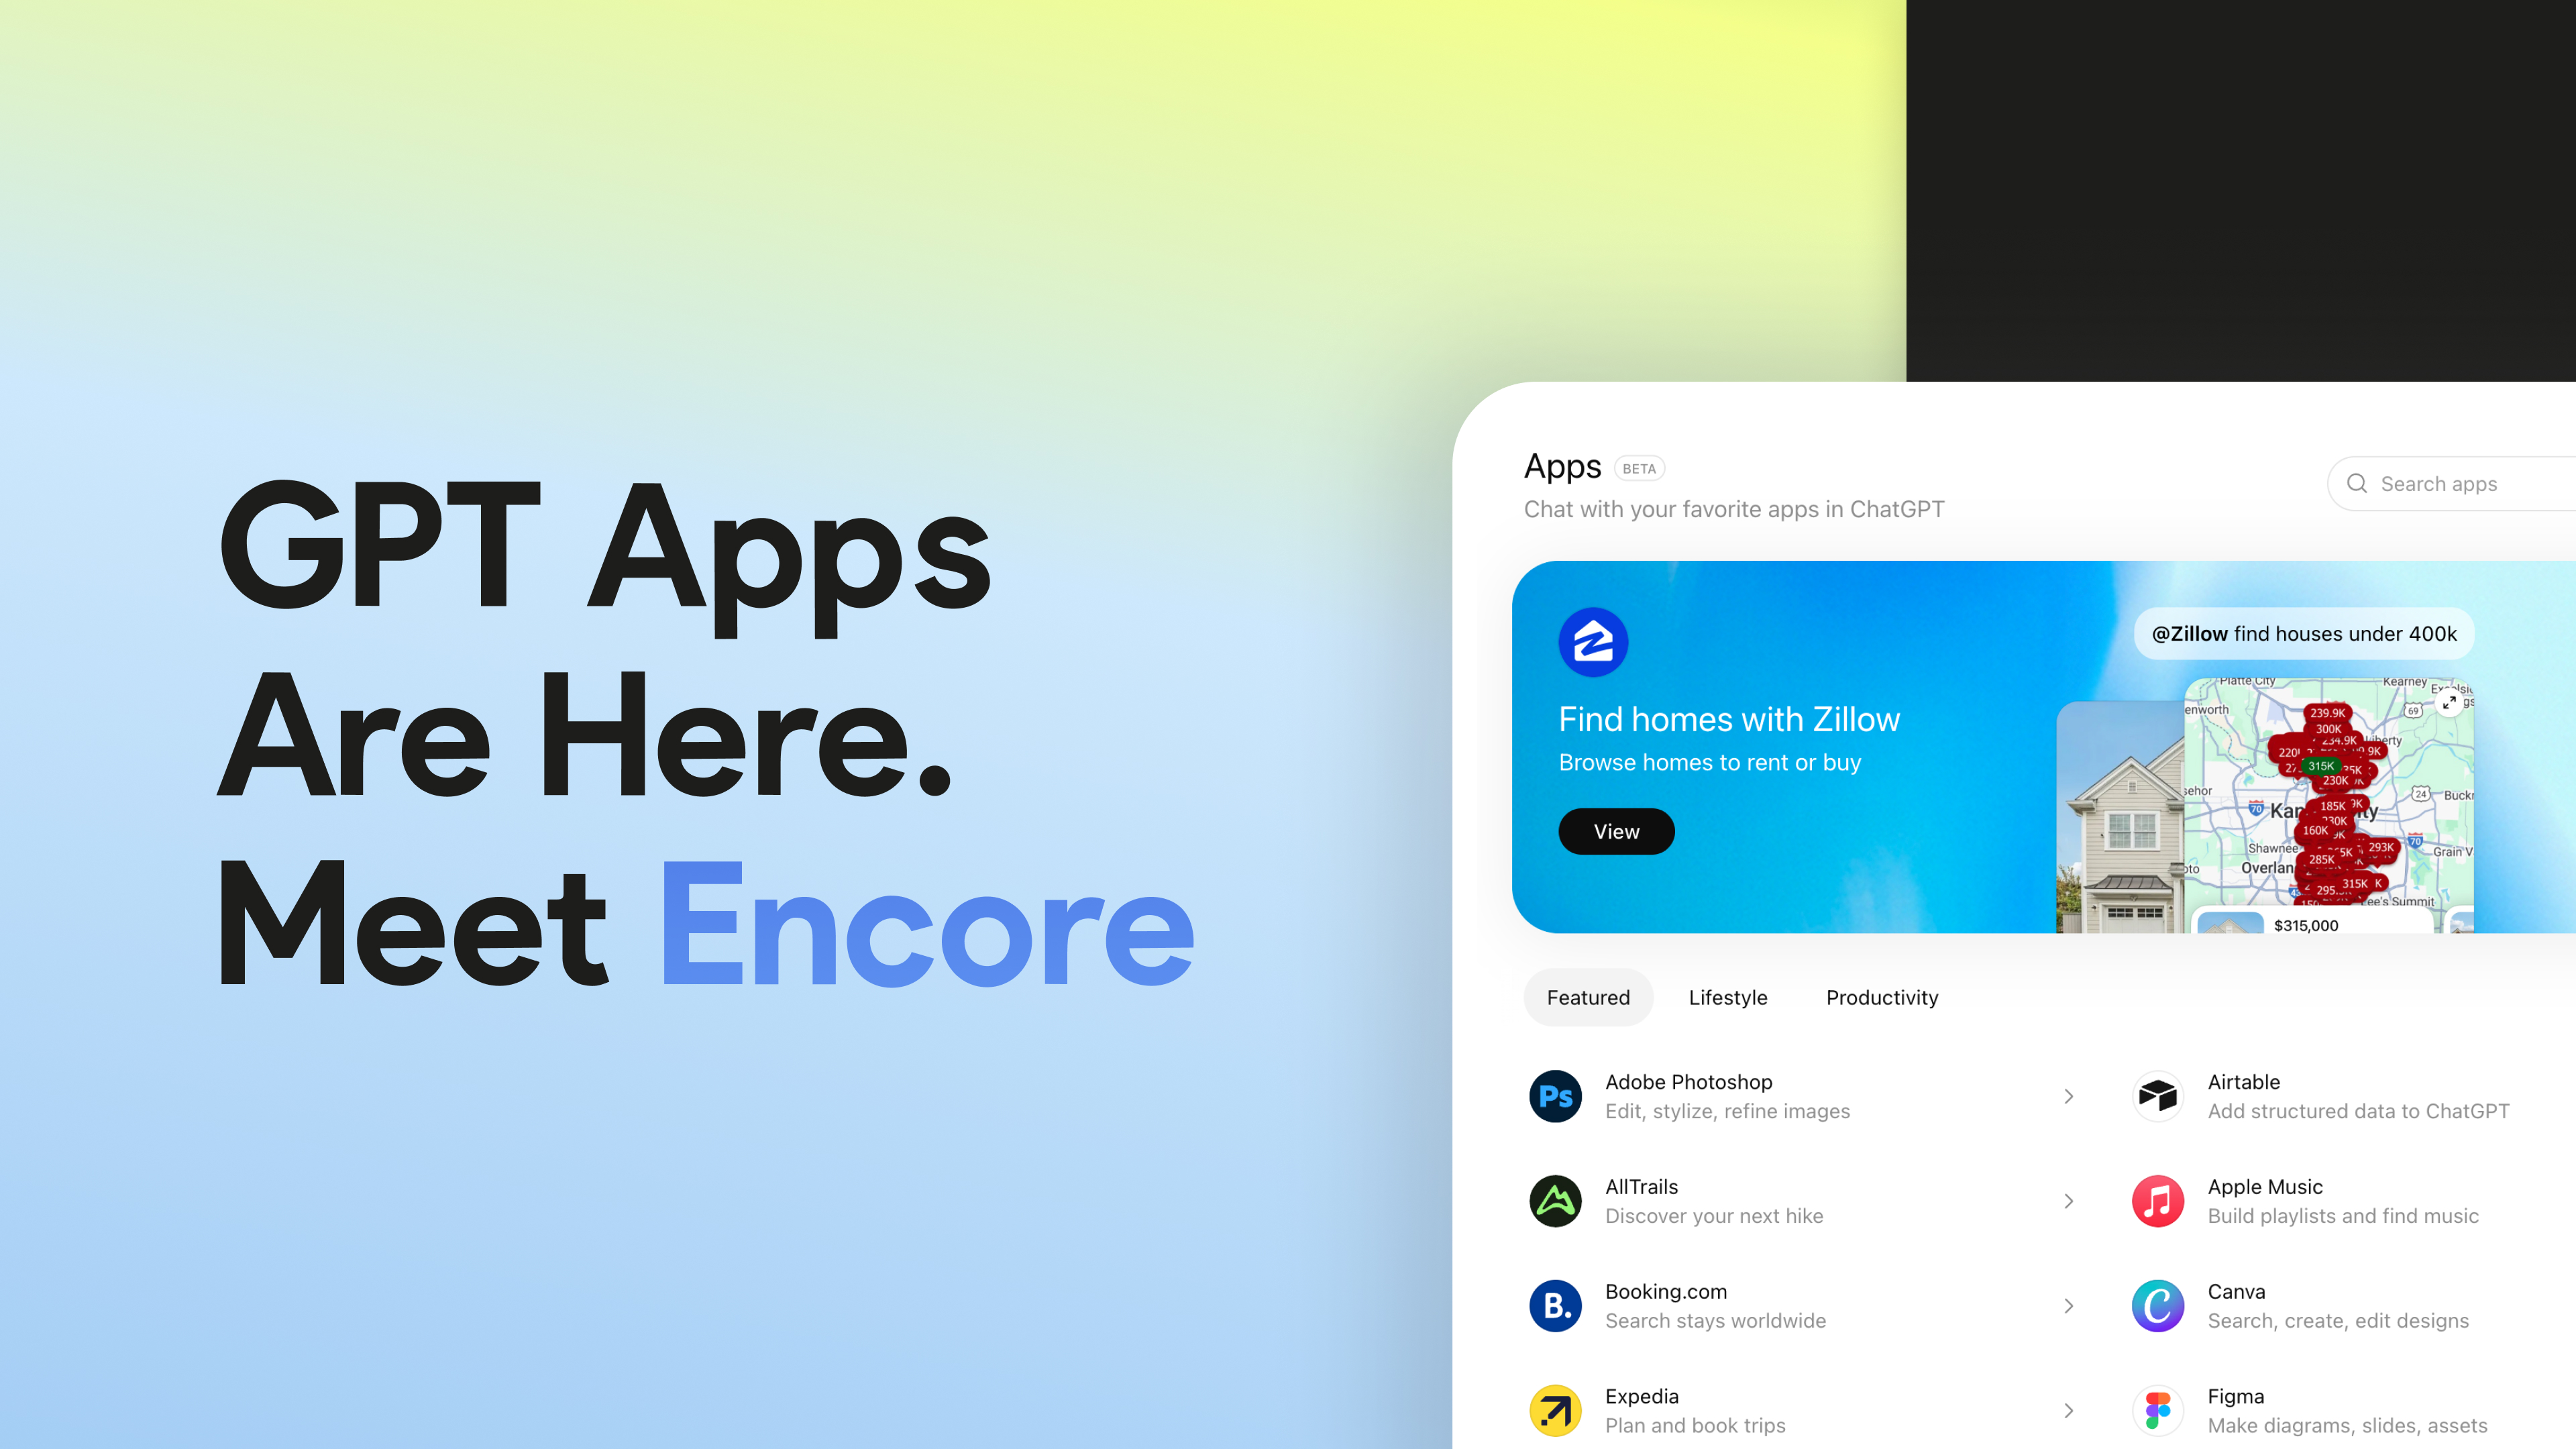
Looking to create a support AI chatbot for your users — right inside a mobile app? In this tutorial, we’ll walk you through how we built an AI-powered support assistant using Bravo Studio, Figma, OpenAI, Xano, and Kinde — all without writing a single line of code.
Whether you’re building a helpdesk tool, internal documentation app, or AI-powered onboarding assistant, this guide will help you build and launch it faster than ever.
Step 1: Design Your App in Figma
Start by designing your app UI in Figma. You can:
Create your own layout from scratch
Or, duplicate one of the many free Bravo Studio templates from the Figma Community
Your app should include:
A Login screen for authentication
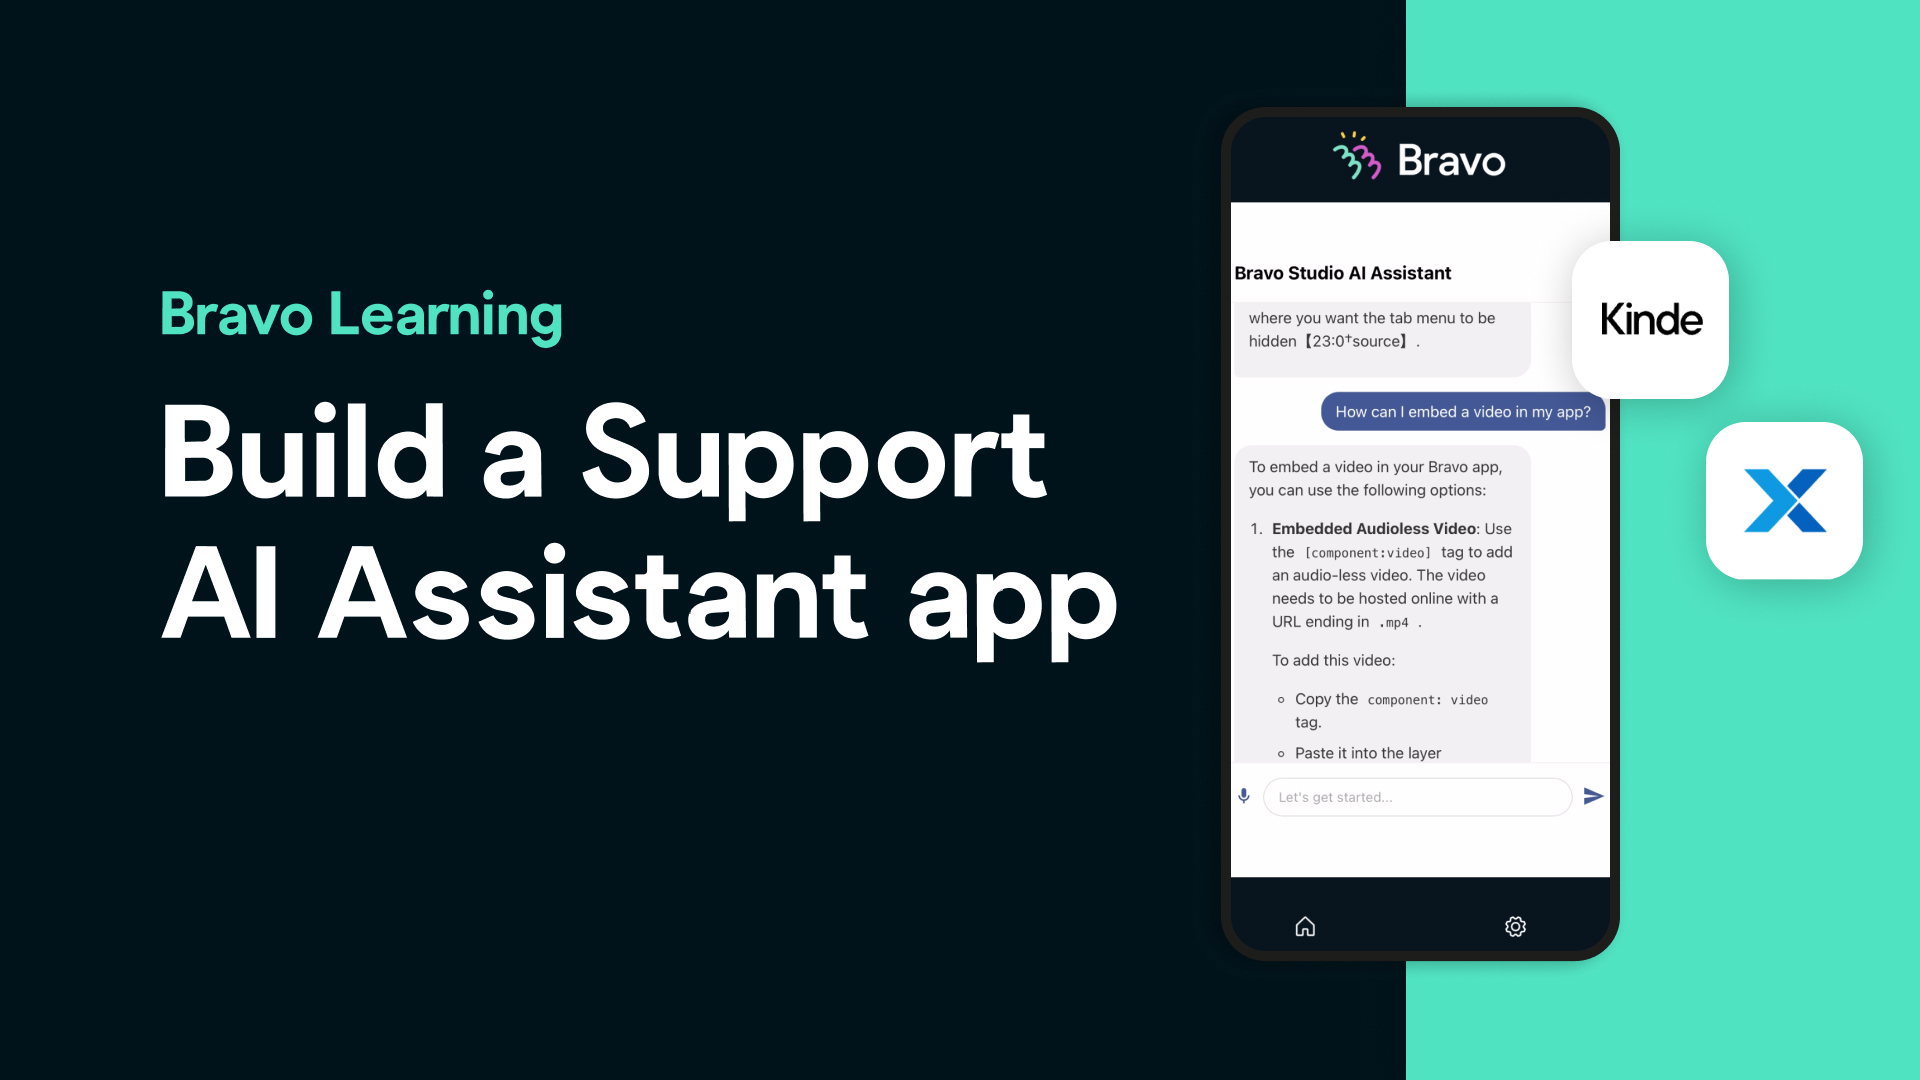
A Main screen that will host your AI assistant via a web-view component
Tip: Use the Bravo Studio Figma plugin to structure your app correctly and apply the required Bravo Tags.
You’ll need to add a:[component:web-view:URL] tag to the frame that will load your AI assistant.
Step 2: Set Up Authentication with Kinde
To make sure your support assistant is secure, you’ll want to authenticate users. For this:
Create a free Kinde account
Use Bravo’s External OAuth + Xano snippet to enable authentication
Follow the instructions in our authentication docs to configure your Xano backend
Once integrated, test your app login flow inside Bravo Vision — Bravo’s companion testing app.
Step 3: Create Your AI Assistant with OpenAI
Now it’s time to create your assistant:
Head over to OpenAI and create a new assistant
Add system instructions tailored to your app (e.g., support guidelines, tone of voice)
In our case, we uploaded our entire GitBook documentation to help the assistant deliver accurate answers
Add at least $5 credit to your OpenAI account so the assistant can function for testing and production
Step 4: Set Up the Backend with Xano
Bravo Studio integrates with Xano, a powerful no-code backend. Here’s how to link your AI assistant to your app:
Install the Bravo Studio OpenAI Assistant snippet in your Xano project
Add your OpenAI API key and Assistant ID as environment variables
Use the provided endpoint in the snippet to generate a GET request
This GET request will fetch the unique URL of your assistant when a user logs in.
Step 5: Connect Everything in Bravo Studio
Back in Bravo Studio, do the following:
Add your Xano GET request to your app’s data collection
Bind the assistant’s URL (from the API response) to the web-view frame in your Figma design
Bravo’s visual data binding makes it easy to map your OpenAI data to the front-end UI.
Step 6: Test Your App in Bravo Vision
With all pieces in place:
Open Bravo Vision on your device
Log in using your Kinde credentials
Bravo will call the assistant’s URL and inject it into the web-view
You now have a fully functional AI-powered support app! You can ask questions, request guidance, or troubleshoot — and your assistant will reply instantly using your uploaded docs and training.
Why Build a Support Assistant App This Way?
Launch fast: From idea to testable app in days, not weeks
Leverage existing docs: Upload your help center or GitBook for contextual responses
Scale easily: Add more assistants or extend your app for different teams or use cases
No code required: Every step is visual and accessible — perfect for teams without developers
Frequently Asked Questions
Can I use my own documentation with the AI assistant? Yes! You can upload your GitBook, PDFs, or structured data directly into OpenAI to train your assistant.
Do I need a paid OpenAI account? You need to add at least $5 in credit to test your assistant. OpenAI charges based on usage.
Can this app be published to the App Store or Google Play? Absolutely. Once you're done testing in Bravo Vision, you can publish to both stores through Bravo Studio.
Is coding required at any point? Nope! All steps — from design to backend setup — use visual tools and snippets provided by Bravo, Xano, and Kinde.
Can I replace the support assistant with other roles like sales or HR? Yes. You can create multiple assistants for different use cases and bind each one to separate screens or user types.