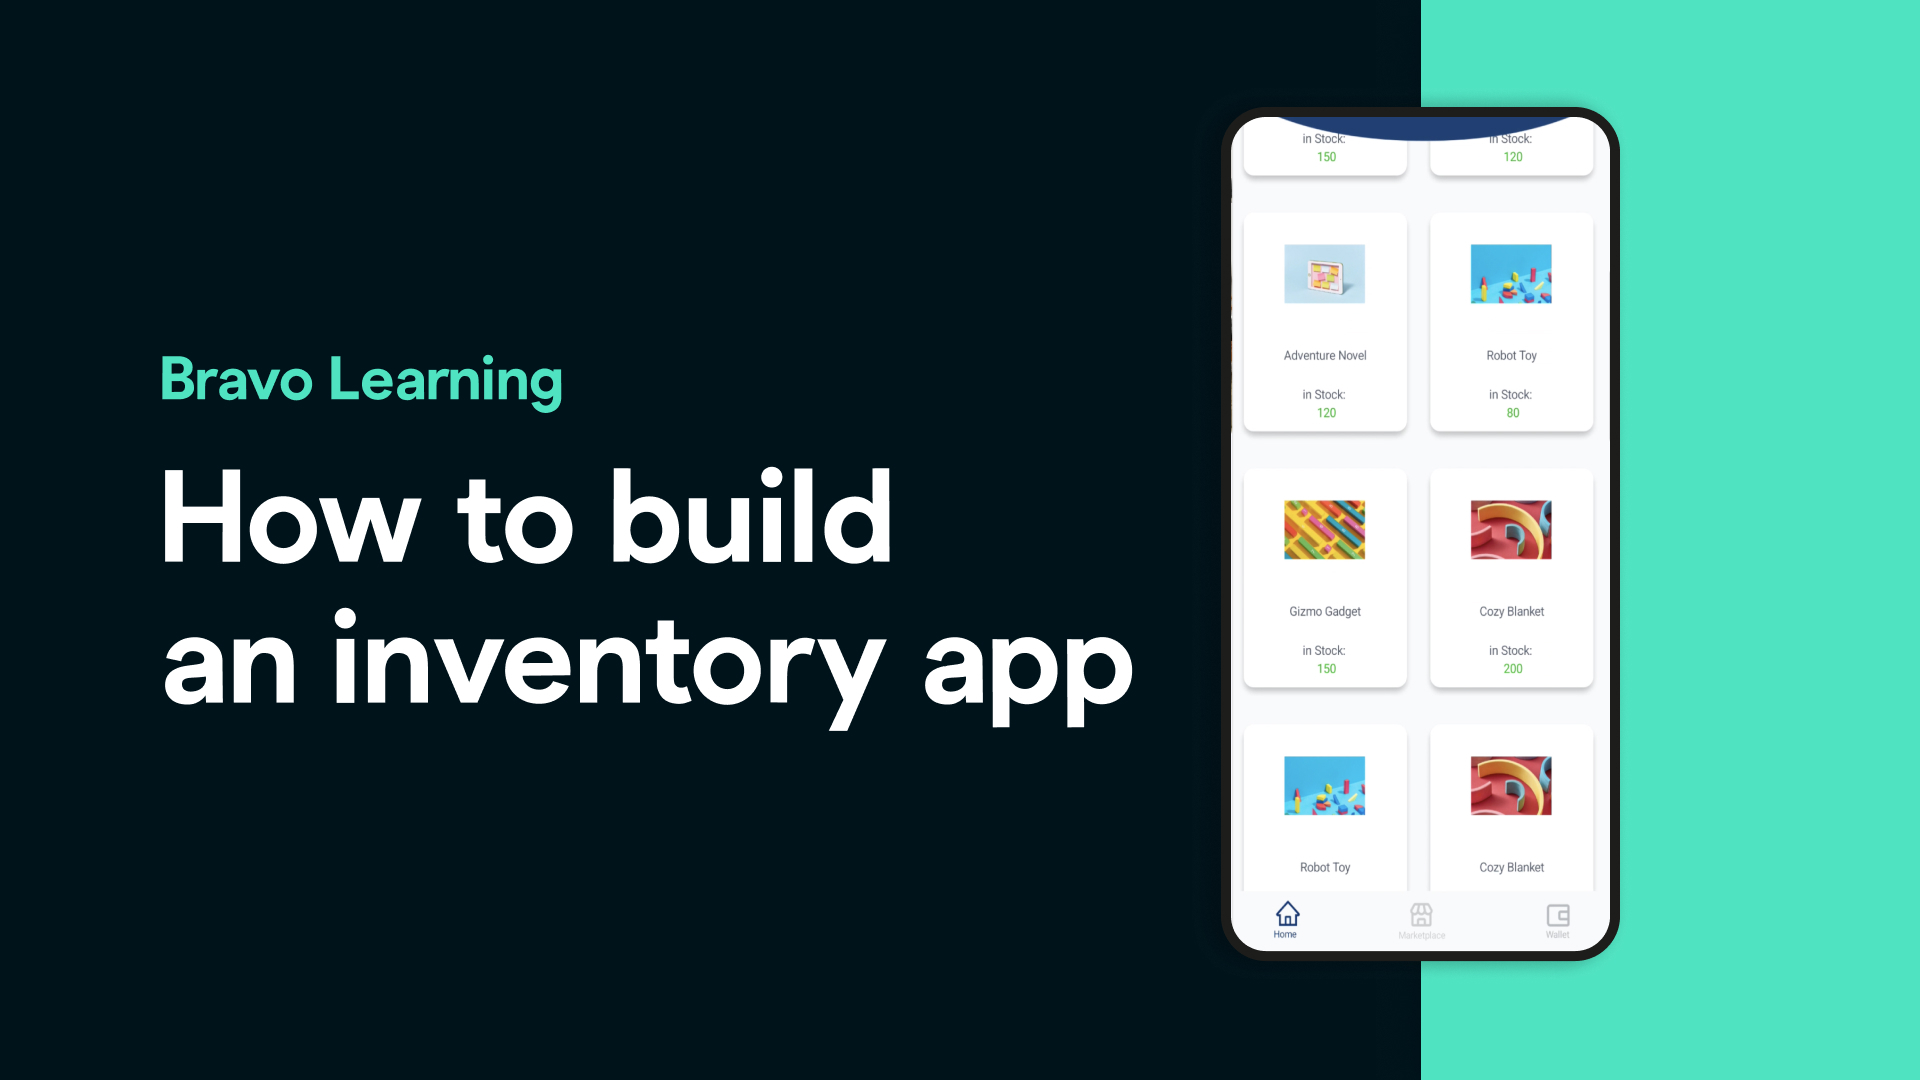
Thinking about launching your own inventory management mobile app connected to an Airtable** database**? You're in the right place. With Bravo Studio, you can go from idea to fully functional app — without writing a single line of code.
Let’s walk you through the process!
Step 1: Start with Beautiful App Designs
Whether you’re designing from scratch or using a ready-made UI, Bravo Studio makes it easy.
Visit BravoStudio.app to explore sample apps and Figma UI kits you can fully customize.
Browse the Figma Community for free, pixel-perfect designs — duplicate and adapt them to match your inventory app’s look and feel.
Don’t forget to install our official Figma Plugin! It helps you: Add essential Bravo Tags to your designs Check if your screens are ready for Bravo import
Add essential Bravo Tags to your designs
Check if your screens are ready for Bravo import
No Airtable Database Yet? No Problem
You can spin up a smart inventory database in seconds using Airtable’s new AI tools. Just describe what you need, and Airtable’s AI will generate your base — complete with tables, fields, and relationships.
Perfect for getting started fast!
Step 2: Import Your Design to Bravo Studio
Once your Figma design is ready:
Import your design file to Bravo Studio.
Go to your app’s Data tab.
Create a new API Collection and select the Airtable wizard.
Our wizard will guide you through:
Adding your Airtable **sharable URL **
Creating a secure **access token **
Automatically generating the necessary **API requests **
No manual setup. No API headaches.
Step 3: Bind Your Data
Now the magic happens: connect your app’s design to your live Airtable database.
Use Bravo’s Data Binding to link buttons, lists, images, and text fields to your real data — making your inventory app interactive and dynamic.
Step 4: Test and Launch
Once your app is connected and customized:
Use Bravo Vision to test your app in real time on your mobile device.
Share with team members or stakeholders to get feedback.
Ready to go live? Publish your app and share it with the world.
Why Build with Bravo Studio?
No-code, design-first approach
Native iOS and Android apps
Seamless Airtable integration
Instant testing with Bravo Vision
Customizable UI powered by Figma
FAQs: Building an Inventory App with Bravo Studio & Airtable
Q: Do I need to know how to code to build an app with Bravo Studio?
A: Nope! Bravo Studio is completely no-code. All you need is a Figma design and a data source like Airtable.
Q: Can I use other data sources besides Airtable?
A: Yes! Bravo supports custom REST APIs, as well as integrations with tools like Xano, Supabase, and Firebase.
Q: Is Bravo Studio free to use?
A: Bravo Studio offers a free plan with access to core features. You can upgrade to a paid plan for advanced features, publishing to app stores, and more.
Q: What’s the Bravo Tags system in Figma?
A: Bravo Tags are special labels added in Figma that tell Bravo how to treat different elements — for example, which ones are buttons, lists, modals, inputs, etc.
Q: How does Airtable integration work?
A: With Bravo’s Airtable wizard, you connect your base via a shareable link and an access token. Bravo then auto-generates all the necessary API endpoints to pull in your data.
Q: Can I update data in Airtable from the app?
A: Yes! You can use Bravo’s write requests (like POST, PATCH, DELETE) to add, edit, or delete records directly from your mobile app.
Q: How do I test my app before publishing?
A: Just download the Bravo Vision app from the App Store or Google Play. Log in and preview your app in real time.
Ready to bring your inventory app to life? Start building today at BravoStudio.app and join thousands of creators turning designs into powerful mobile apps — no code required.